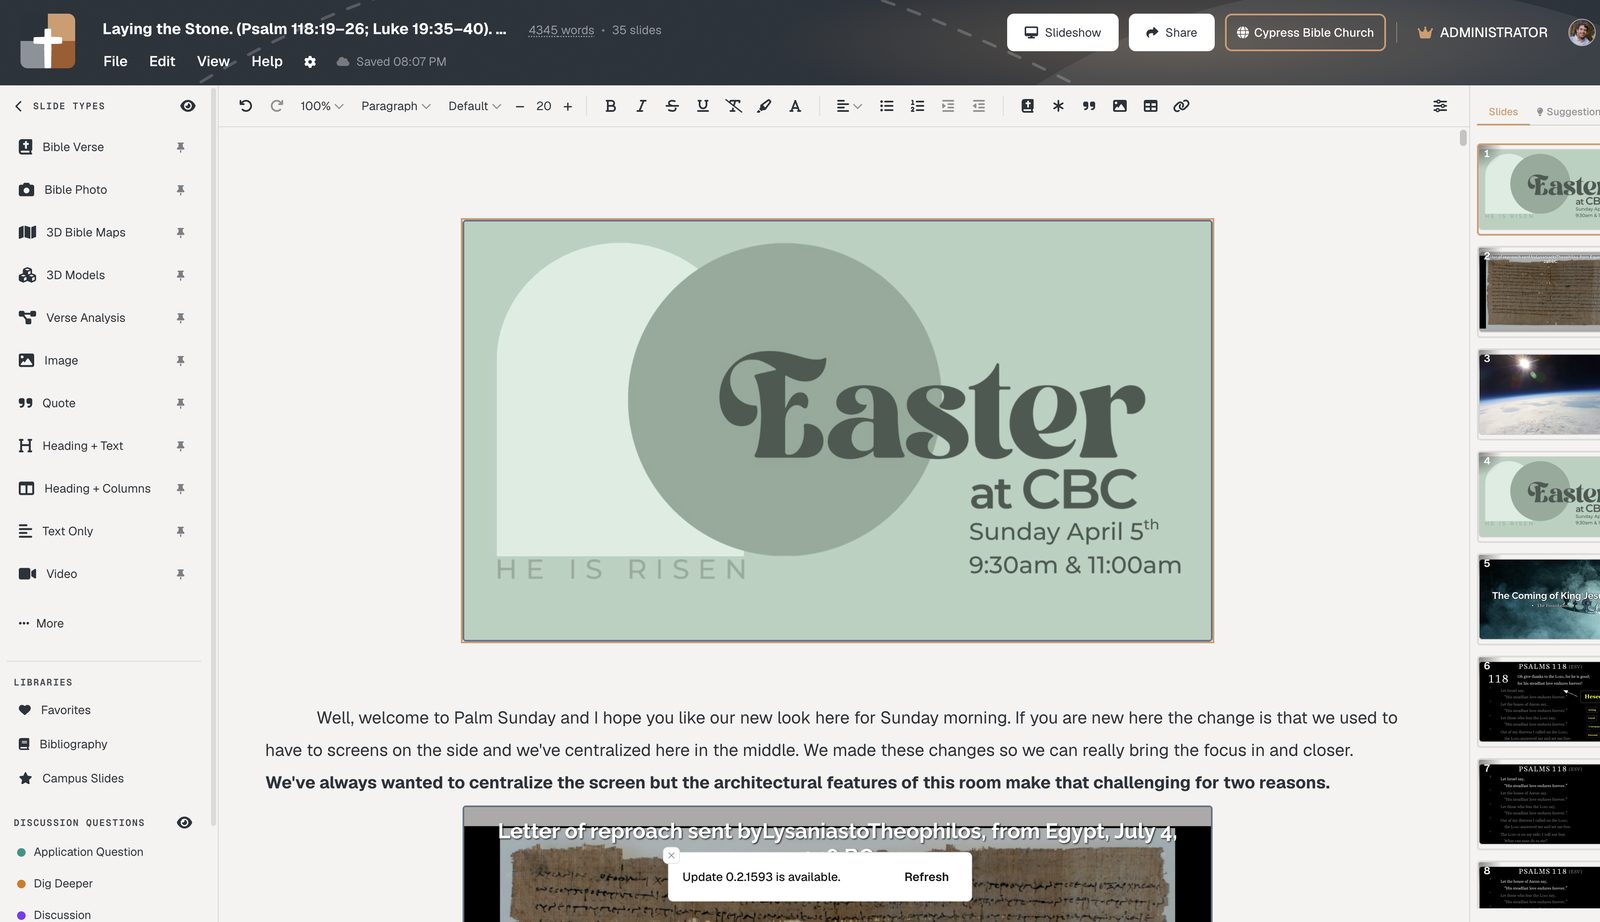
How to set up a church media laptop for Sunday morning
What the media laptop actually does with BibleSlides — build during the week, open the cloud project on Sunday, and hand presentation off to the tablet or booth slideshow.
In a lot of churches the “media laptop” is still treated like a PowerPoint machine: USB stick, presenter view on one monitor, sanctuary output on the other. That mental model fights how BibleSlides works.
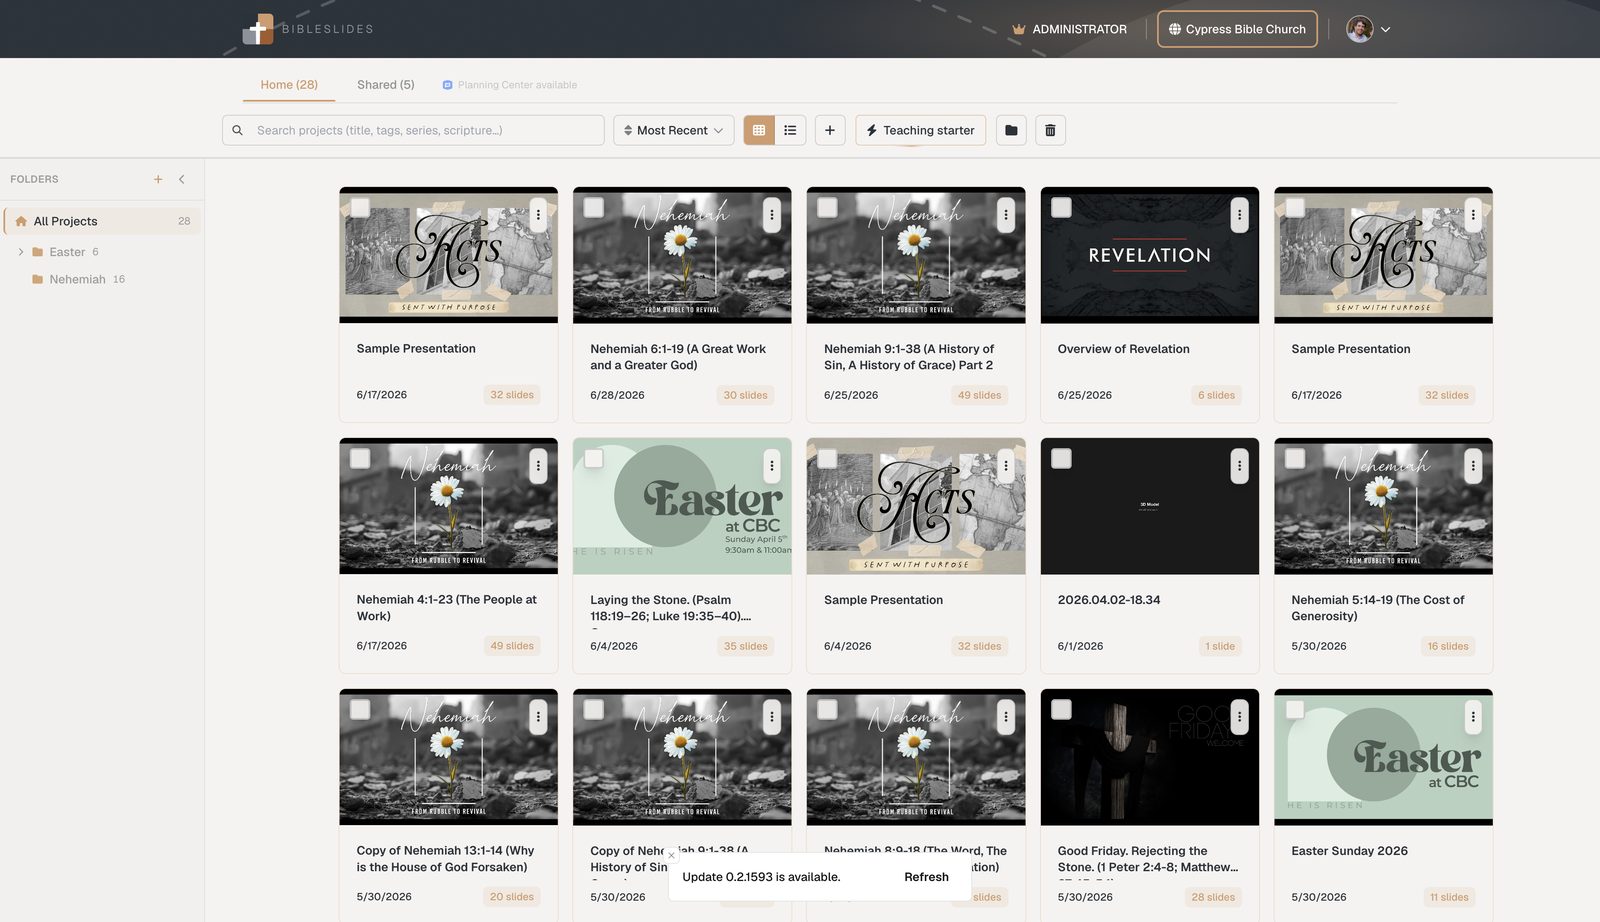
With BibleSlides, the laptop’s main job is building the sermon (and sometimes hosting the booth browser). The pastor’s tablet is usually the control surface on stage. The deck lives in the cloud — not on a flash drive.
Friday night should prove one thing: the correct project opens, practice mode looks right in the room, and whoever advances slides knows their device.
What the laptop is for
| During the week | Sunday morning |
|---|---|
| Web editor on laptop or desktop | Open the same cloud project (no USB copy) |
| Notes and slides in one document | Pastor advances from iPad, Android, Mac, or Windows — or AV runs Slideshow in the booth browser |
| Save once; sync everywhere | Congregation sees the projector / TV output, not the editor |
Two Sunday setups that work
1. Recommended: laptop for prep, tablet for the room
- Finish the deck in the web editor on the laptop
- Charge the tablet Friday; sign in to the BibleSlides tablet app
- Connect the sanctuary display from the tablet (AirPlay, HDMI adapter, or Chromecast — not iPad mirroring)
- Open the project → start the slideshow → teach from the tablet (notes + advance)
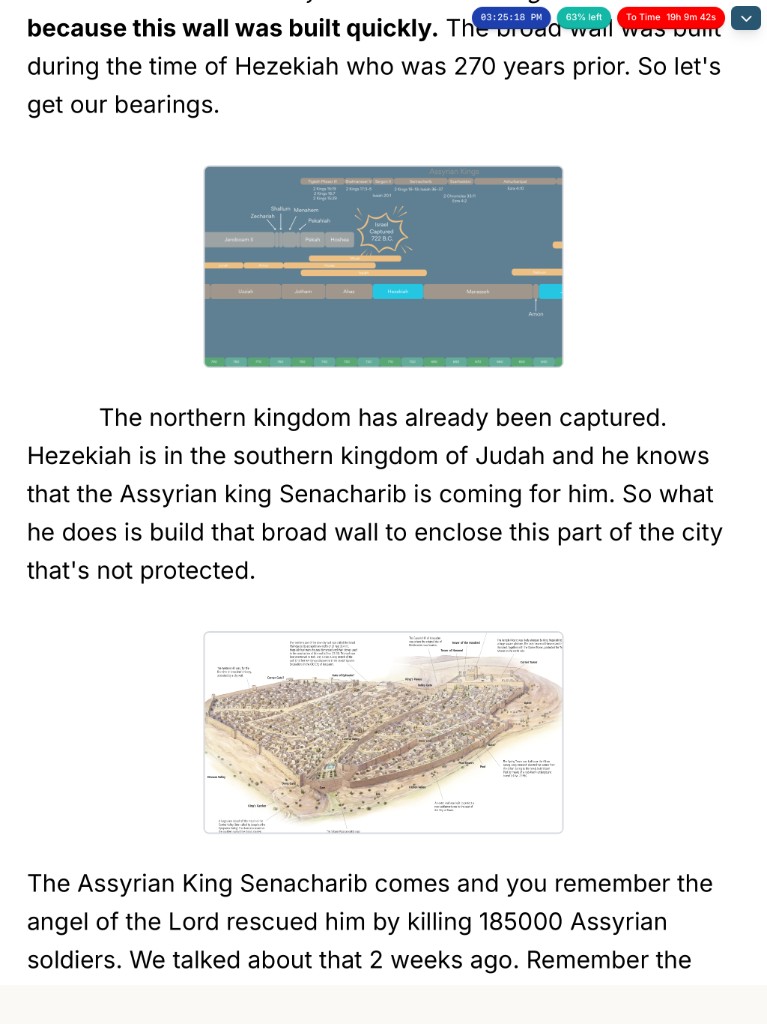
Details: Present Sunday from a tablet.
2. Booth laptop drives the projector
Use this when AV advances from the tech booth:
- Plug HDMI (or the usual adapter) into the laptop before you open the browser
- Confirm the sanctuary screen is detected (Extend if you also need the laptop UI; Mirror only if your room requires it)
- Go to bibleslides.app, sign in, open this week’s project
- Click Slideshow — fullscreen the audience view on the sanctuary display
- Advance from the booth keyboard, or pair a tablet / remote if you use one
You do not need PowerPoint-style “presenter view vs audience view.” Notes stay in the document; on stage they belong on the tablet presenter, not as a second OS desktop.
Display settings that actually matter
BibleSlides has its own display settings (text size, slide scale, margins, timers). Lock those for your room once — they matter more than hunting for a perfect OS resolution every week.
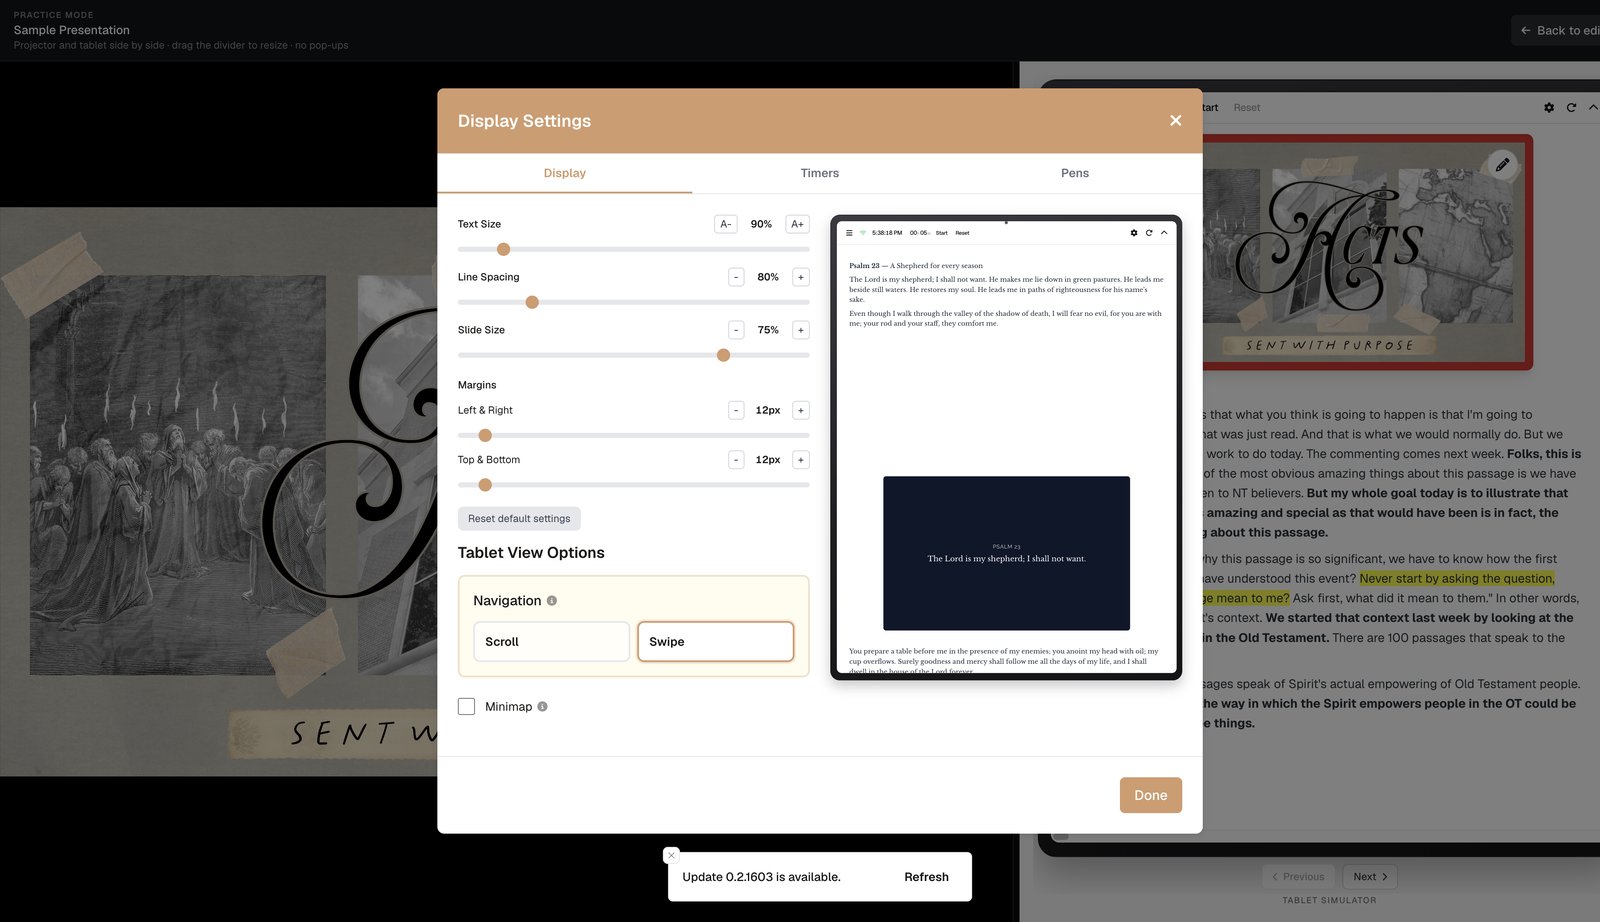
Still do the basics on the machine:
- Prefer the projector’s native resolution when the OS offers it (often 1920×1080)
- Disable sleep / screen lock for the service window
- Mute or silence notification sounds on the booth laptop
Friday night checklist
- Correct project opens from the cloud (title / series matches Sunday)
- Practice mode once — verse text and steps readable on the real screen
- Display settings set for this room (then leave them alone)
- If using a tablet: charged, signed in, same account, external display not mirroring the tablet UI
- If using booth laptop: HDMI path confirmed, Slideshow fullscreen on the sanctuary screen
- One person assigned to advance slides
Sunday morning: three checks, then stop
- Sign in → open this week’s project (not a local file)
- Confirm the sanctuary screen shows the slideshow output (not the editor, not a mirrored tablet home screen)
- Show slide 1 — if it looks like Friday’s practice run, stop adjusting
Lyrics, livestream, and announcement tools can stay in their own apps. Keep BibleSlides focused on the teaching deck so you’re not juggling “which window is on the house?” five minutes before the call to worship.
See BibleSlides features
Notes and slides in one document, Bible Verse slides, stepped markup, Verse Analysis, 3D maps, BiblePlaces photos, and tablet presenter apps — built for pastors who teach Scripture.