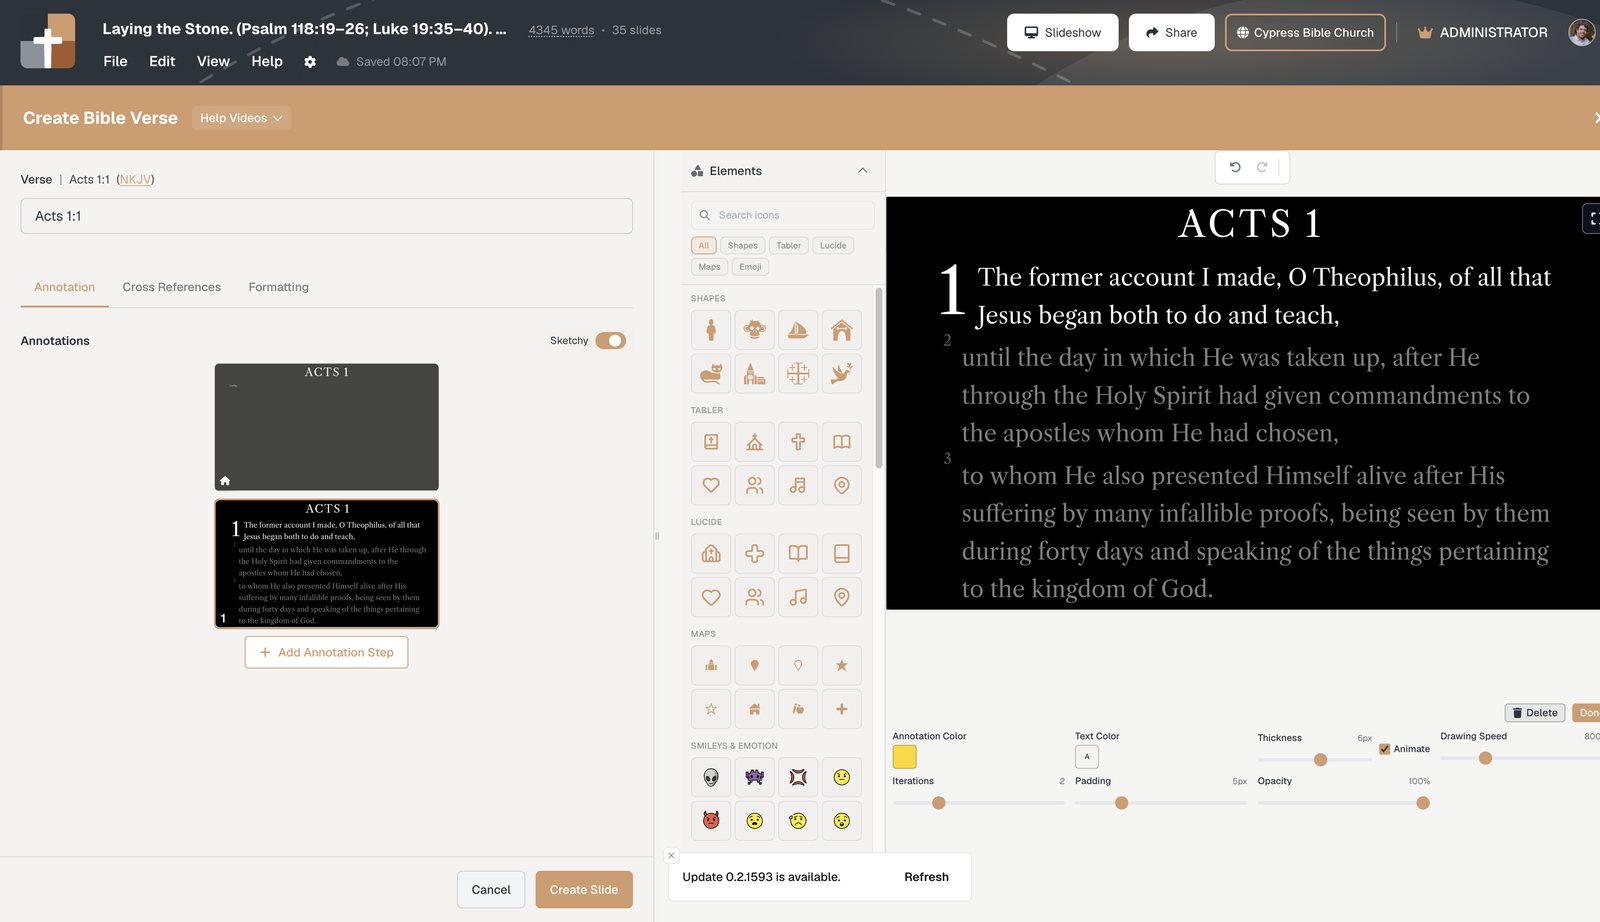
How to create a Bible Verse slide in BibleSlides
A short guide for pastors and Bible teachers — add John 3:16 (or any passage), pick a translation, highlight key phrases, and preview practice mode before Sunday.
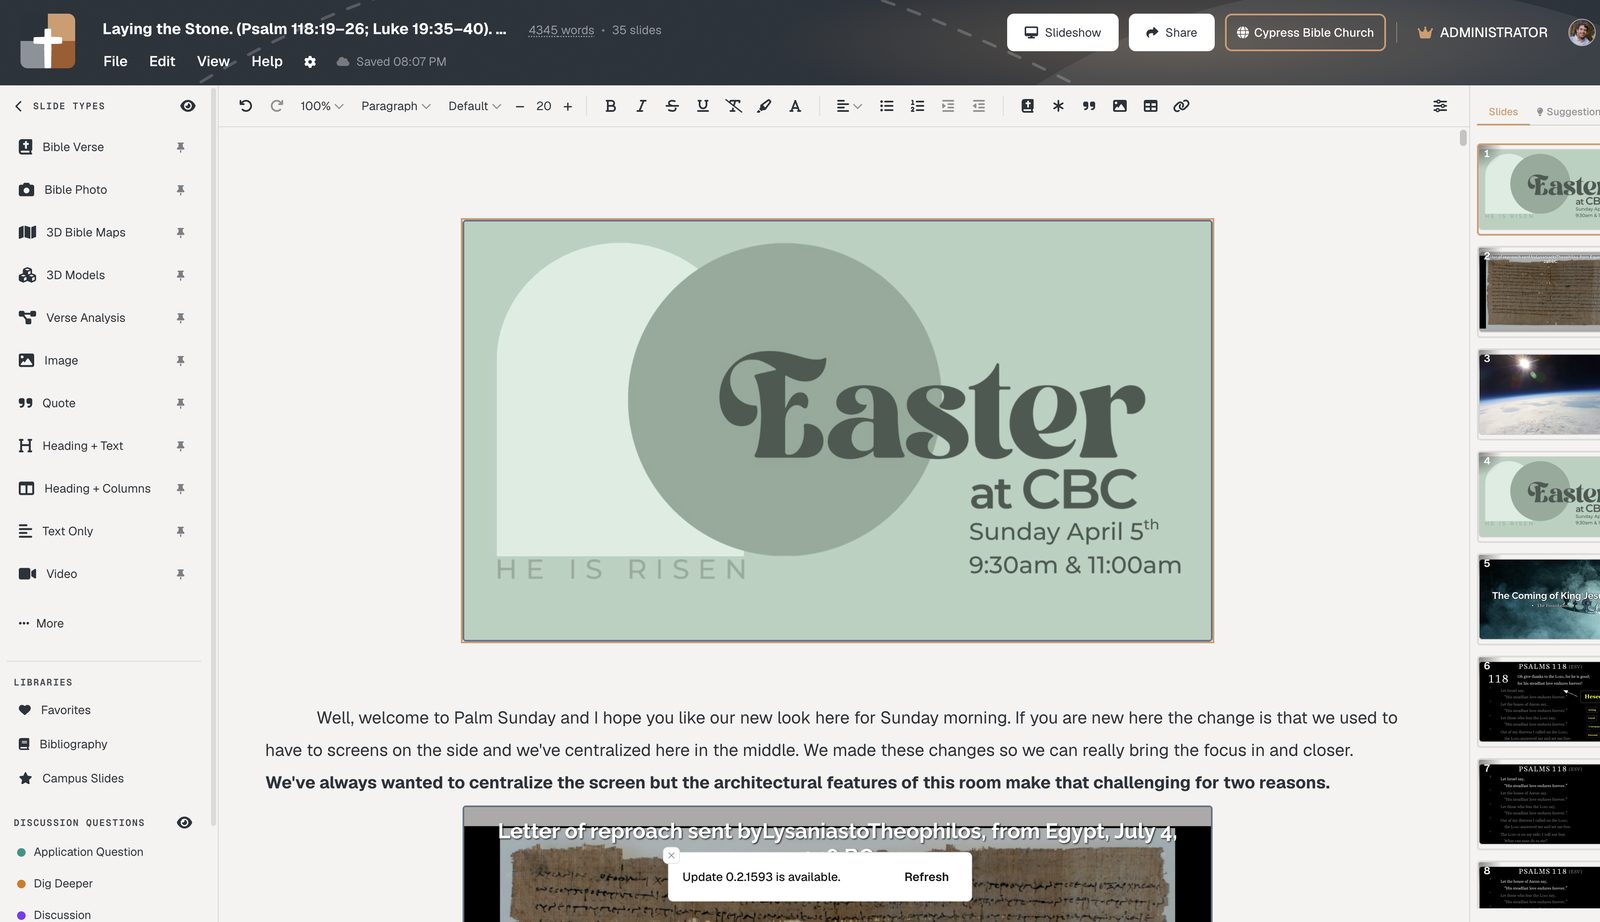
When you teach Scripture, what people see should be clear, readable, and keep the congregation in context. Most presentation software was not built for that — which is why BibleSlides centers the Bible Verse slide type.
Your sermon notes and your slides live in one document, so they stay in sync.
Watch the walkthrough
The video above walks through the full flow in about four minutes — from adding John 3:16 to presenting with practice mode.
Add a Bible Verse slide
- Open your presentation in the editor
- In the sidebar, choose Bible Verse
- Type a reference — for example
John 3:16 - Click Create slide
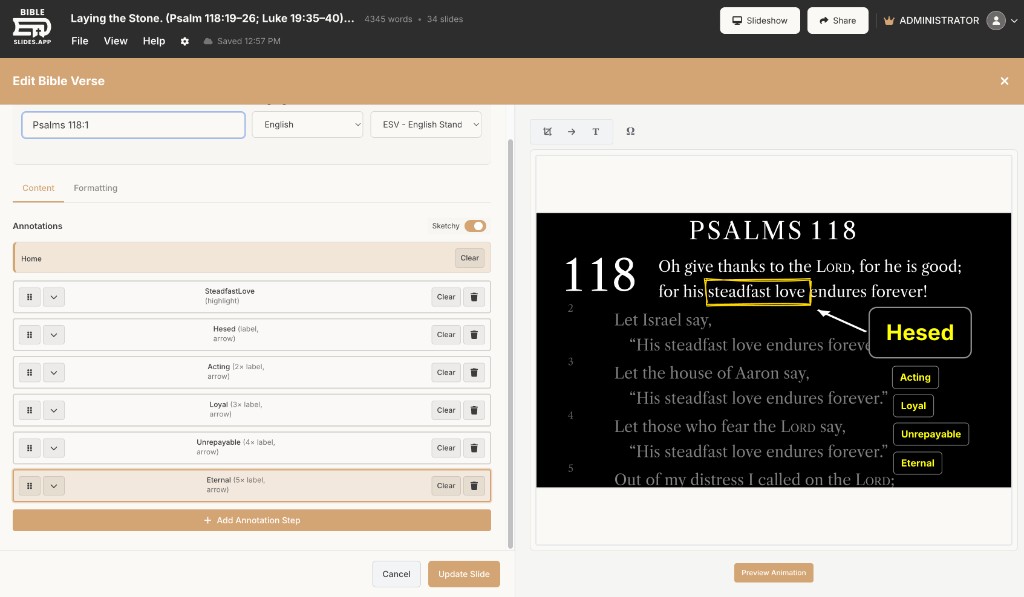
Highlight what you are explaining
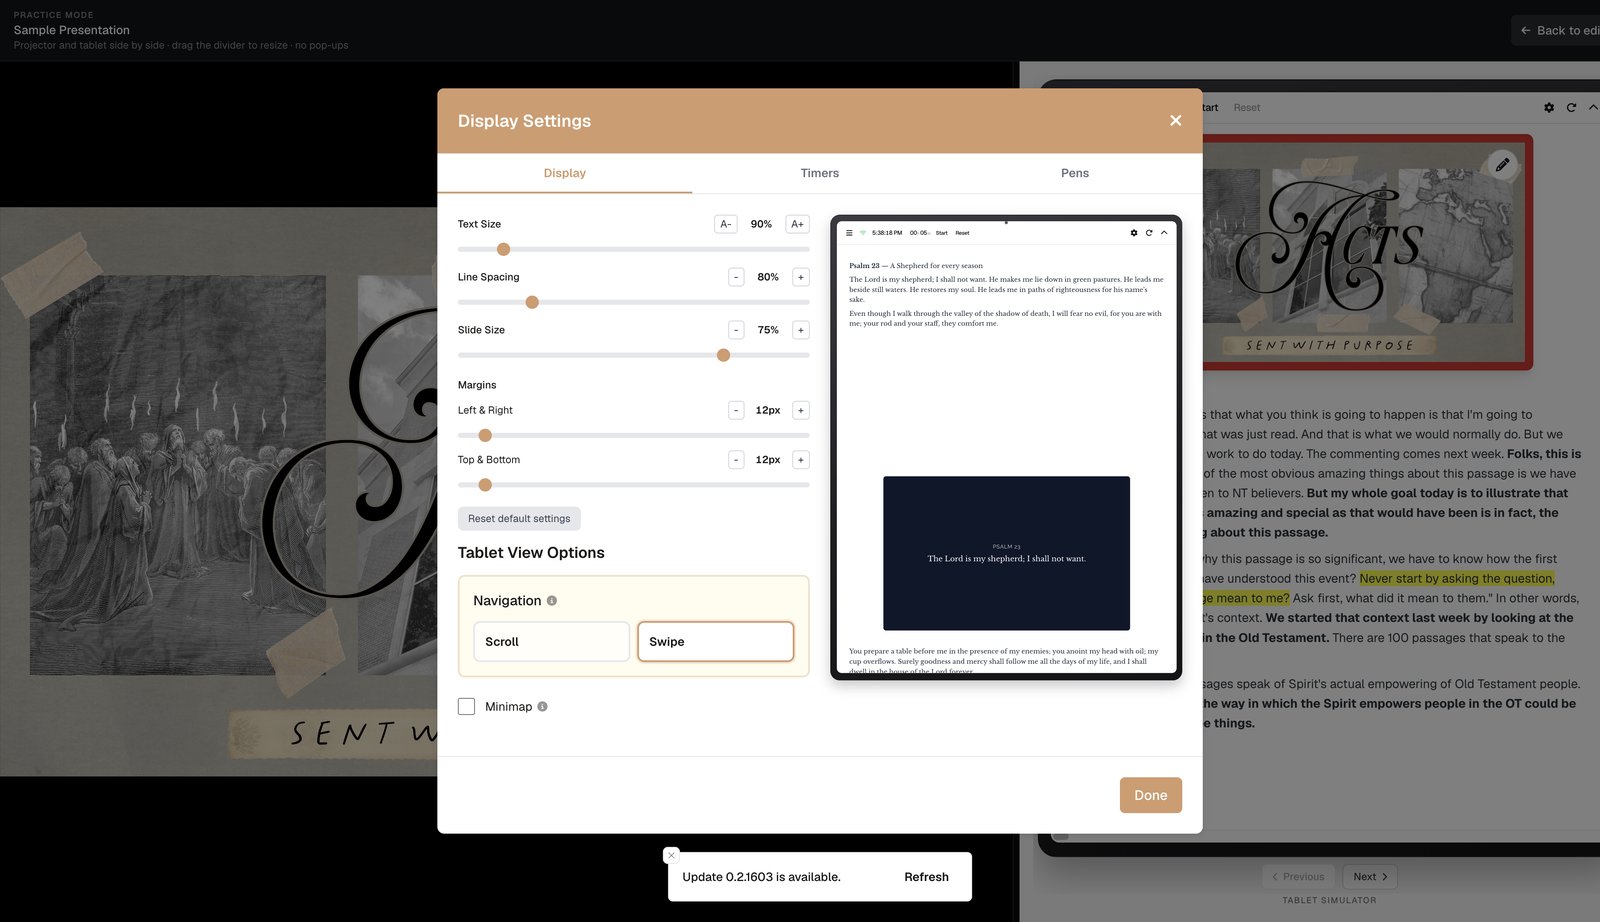
Preview with practice mode
Click Slideshow, then Practice mode. Adjust display settings until the verse reads comfortably on your room’s screen.
Try it this week
- Go to Projects
- Add a Bible Verse slide for Sunday’s passage
- Add one annotation on the phrase you will explain
- Run Practice mode once
Bible Verse slides are included on the free plan. Start creating free.
See BibleSlides features
Notes and slides in one document, Bible Verse slides, stepped markup, Verse Analysis, 3D maps, BiblePlaces photos, and tablet presenter apps — built for pastors who teach Scripture.