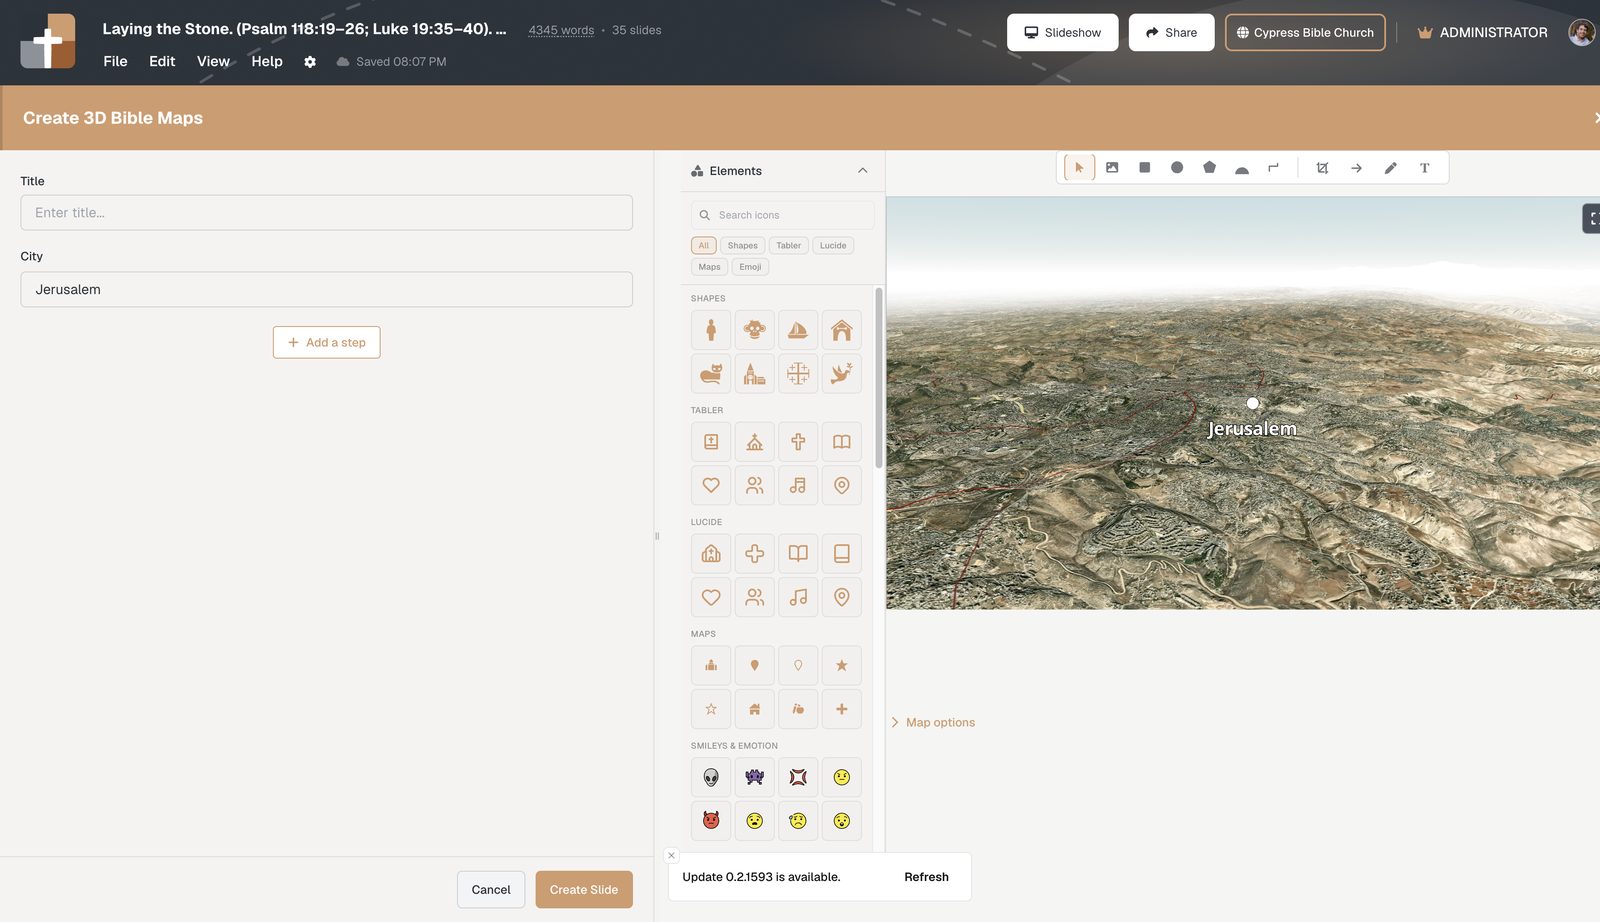
3D Bible maps that teach journeys — not flat atlas screenshots
Stop pasting Google Earth into PowerPoint. Use interactive 3D Bible maps with unique camera angles, zoom, pitch, place labels, and fly-to journey steps that match your sermon.
Problem: your map slide is a flat picture
You open an atlas PDF. You screenshot Google Earth. You drop it into PowerPoint. On Sunday the congregation sees a flat rectangle — no sense of the climb from Jericho up to Jerusalem, no flyover to Galilee.
Biblical geography is three-dimensional. Most sermon maps are not.
Agitate: the room can’t feel the story
When Scripture moves, the terrain is part of the text. A flat map makes every mile look the same. Change the camera angle later and you’re hunting Earth again — a JPEG that ages the moment the zoom is wrong.
If the congregation can’t feel the elevation, they miss half the narrative.
Solution: 3D Bible Maps inside the sermon deck
BibleSlides 3D Bible Maps put interactive Mapbox terrain in the same document as your verses and notes.
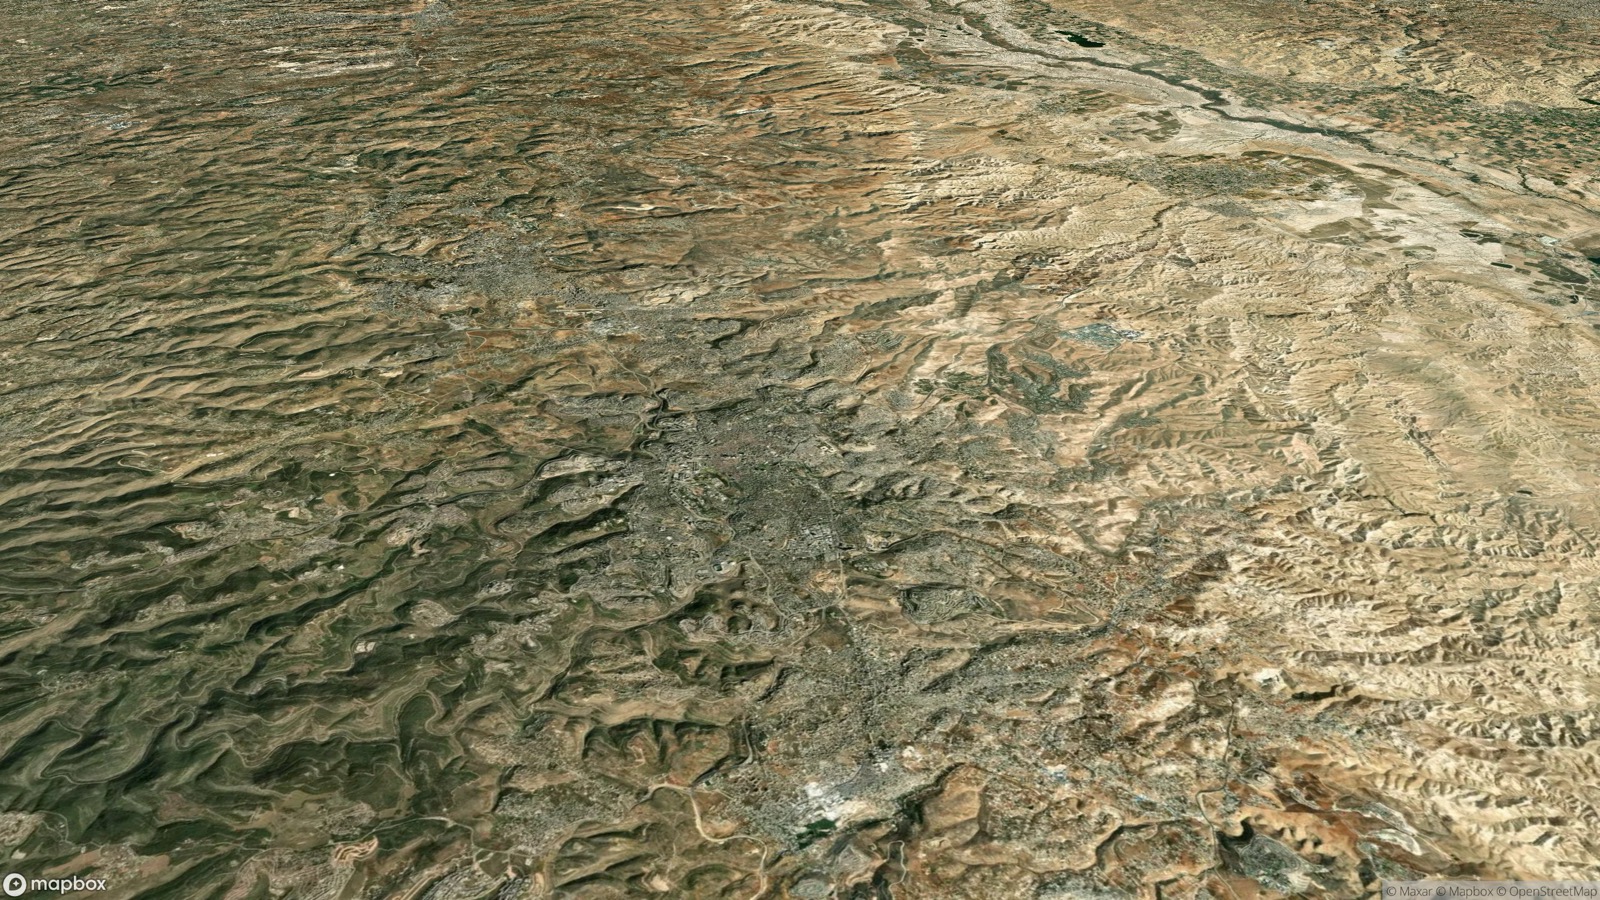
Unique camera angles
Each Home view and journey step stores its own zoom, pitch, and bearing. Frame the shot once while you study — then advance it on Sunday.
Journey steps that fly with your teaching
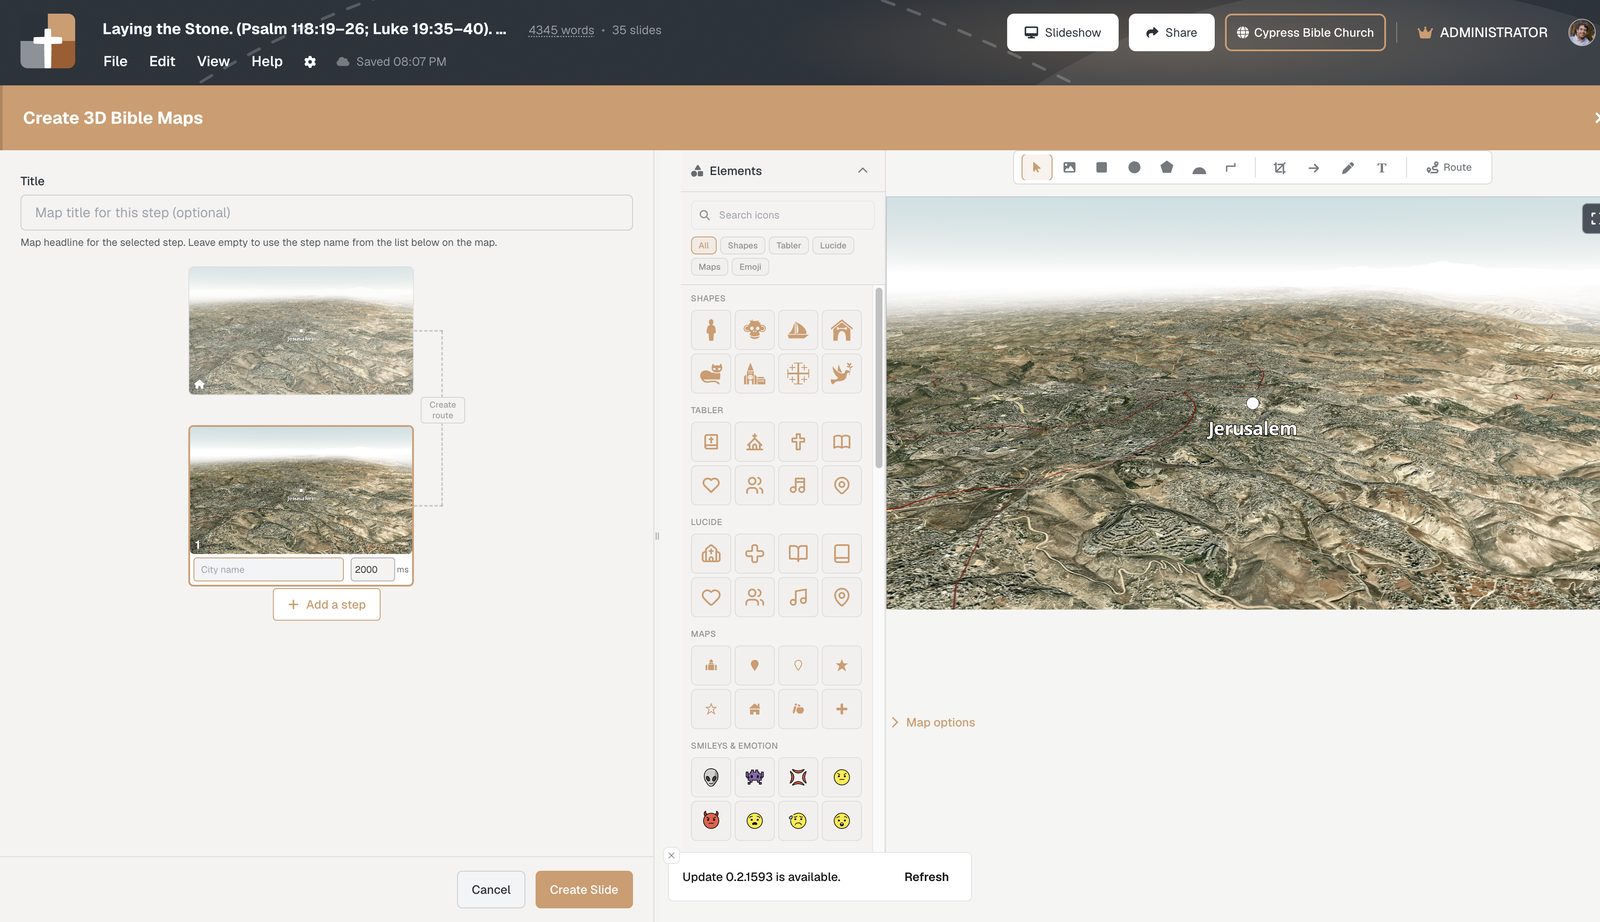
Advance in slideshow and the camera flies to the next framing. Step chips can follow place names (e.g. 1: Gibeon).
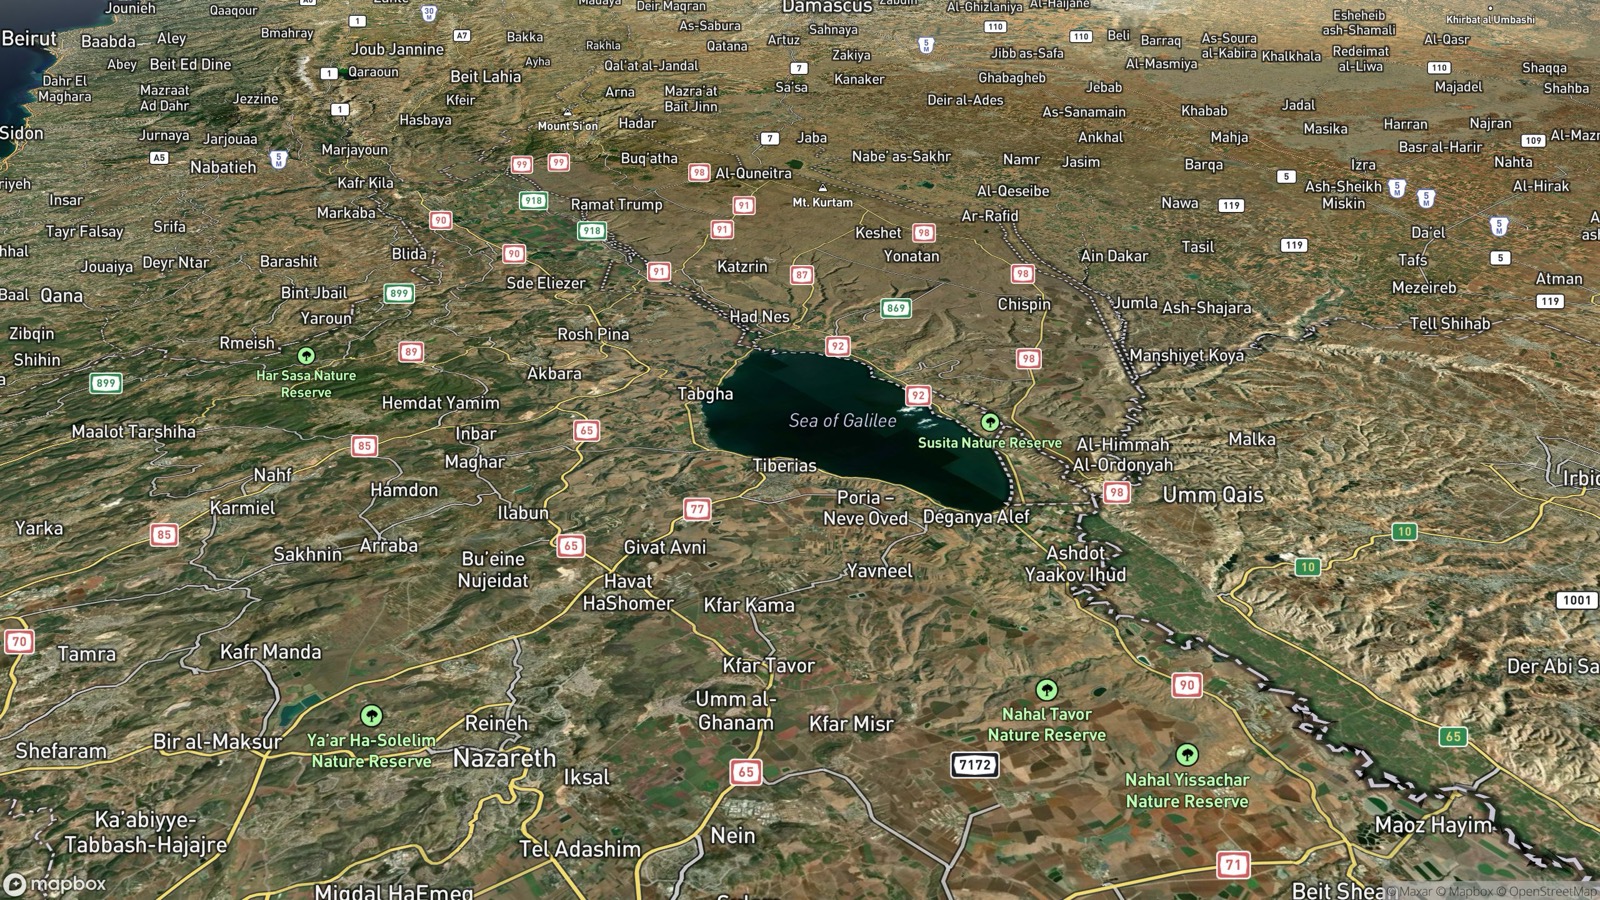
Try it this week
- Open Projects and add a 3D Bible Maps slide
- Start at Jerusalem (or search another biblical place)
- Orbit to a teaching angle — save pitch and zoom
- Add two journey steps and advance them in practice mode
Related: Ancient vs modern overlays · Routes with arrows
See BibleSlides features
Notes and slides in one document, Bible Verse slides, stepped markup, Verse Analysis, 3D maps, BiblePlaces photos, and tablet presenter apps — built for pastors who teach Scripture.