Show the room the artifact, not a description of it — Museum photos for Sunday
Open Bible Photo’s Museum tab in BibleSlides, find the artifact, and put an honest title, caption, and photographer credit on the Sunday teaching slide.
A seal, a coin, a line cut into stone — some Sundays the text names an object the congregation has never seen. You can describe it. The third row still pictures a textbook drawing, or a stock photo of “ancient pottery” with no museum and no name on the credit line.
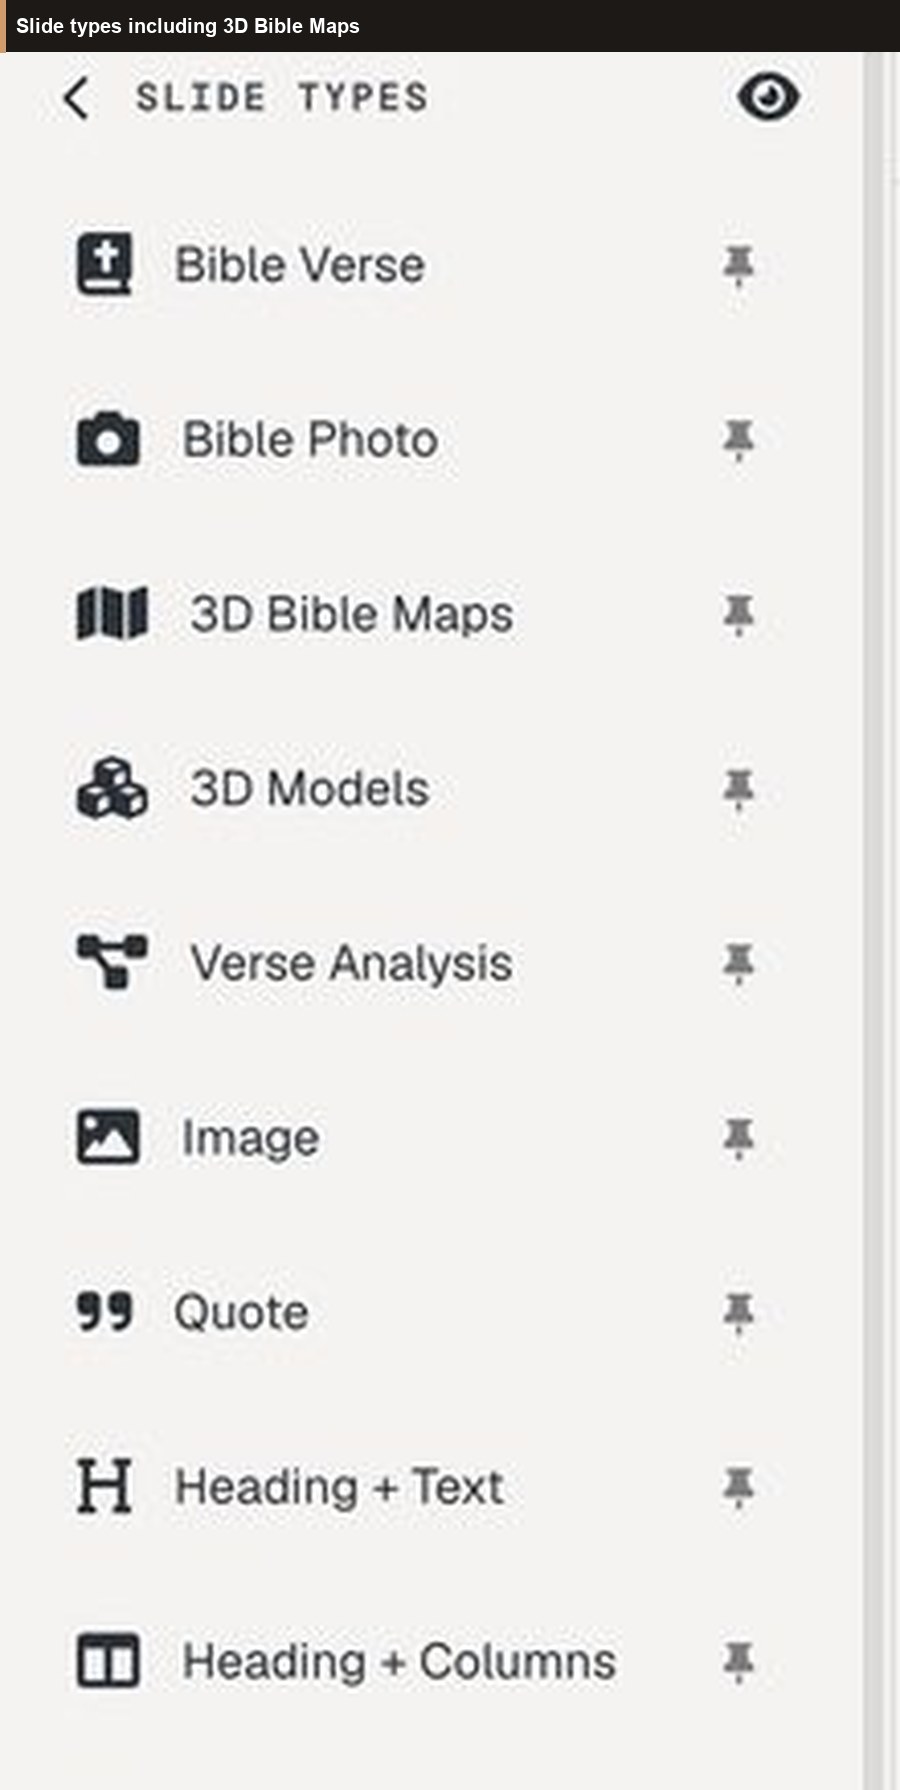
BibleSlides keeps those photographs with the sermon. They are not their own button in the slide-type list. Add a Bible Photo and open the Museum tab. Search or filter, then insert the picture so the room sees the object while you stay in the passage.
A sentence about an artifact is still a sentence. If the congregation cannot see the inscription, the coin, or the seal you are naming, you are asking them to trust an object they cannot check.
How this differs from a place photo and from 3D Models
Teach with Bible photos is the guide for the land — a shoreline, a city, a hill. Todd Bolen’s library and the BiblePlaces.com partnership explain where those site photographs come from. 3D Models is for volume you can orbit: a fortress, a temple court, a reconstruction.
Museum photos answer a narrower question: what did the object look like?
| Need | Use |
|---|---|
| The shore, the city, or the hill the verse names | Bible Photo → Keyword or Verse (Sunday photo workflow) |
| An inscription, coin, seal, pot, idol, or ossuary from a museum collection | Bible Photo → Museum |
| A site or reconstruction you need to orbit | 3D Models |
| An older photograph of a place, not an object in a case | Bible Photo → Historic |
Same Bible Photo tool. Different tab. A keyword such as “seal” or “coin” on Keyword or Verse also searches the museum collection, so artifact cards can sit beside site photos and historic photos. A verse reference does not. Verse search returns only pictures tagged to that verse. Museum records are not tied to a verse, so the Museum tab — or a keyword — is how you find the object.
Where Museum photos live
In the editor, add Bible Photo. New slides open Choose a photo. Three tabs sit under that title: Keyword or Verse, Museum, and Historic.
The Museum search field reads “Search museum photos by keyword...” Before you search, the prompt is “Browse museum photos or use filters to search.”
Filters under the field:
- filter by country — Israel, Jordan, Egypt, Turkey, Greece, Italy, Cyprus, and Other
- filter by museum — Israel Museum, Rockefeller Museum, British Museum, Metropolitan Museum, Louvre, Archaeological Museum, Bible Lands Museum, and Other
- filter by era — the period on the photo, from Neolithic and Bronze Age through Iron Age, Israelite, Assyrian, Babylonian, Persian, Hellenistic, Roman, Byzantine, Ottoman, and Islamic
- filter by date taken — when the photograph was taken, read from the credit, not the ancient era
Leave the lists as they are to browse. Narrow one list when you already know the country, the museum, or the period. If you narrow more than one, the photo has to match each list you narrowed. Two countries still means either country; country plus era means both.
Each card shows the museum, the country when that name is not already inside the museum name, the era when the record has one, and a short description. That description is often the catalog line — frequently the filename, with photographer codes and slide numbers stripped. Read it before you click. These photos are not pinned on the map the way many site photos are. Browse them on this tab.
Bible Photo, including the Museum tab, is Premium, on the same insert gate as Bible maps, Family Tree, Ancient Units, and 3D models. On Free the button reads Upgrade to Add. New accounts include 30 days of Premium with no card; during that window the insert is included. After the trial, Free keeps verse slides and the types outside that gate. A Bible Photo already in the deck can still be edited. See the Free plan write-up.
Set the title, the caption, and the credit
Click a card. The modal title becomes Bible Photo — the same details form as a place photo.
| Field | What starts on the slide |
|---|---|
| Title (optional) | On. Filled from the photo’s description. The title displays in all caps until you select it and turn All caps off in the toolbar above the preview. The words you typed do not change. |
| Description | Filled from the same notes, but On slide starts unchecked. Check it when the room should see a second line. On-slide text uses the same bottom brochure as Bible Maps: a white title and tan callouts. Separate callouts with a vertical bar. |
| Photo Attribution | On. A photographer code becomes a name. Many credits read Todd Bolen, BiblePlaces.com. Other Photo Companion photographers are named the same way, with BiblePlaces.com. If the file has no photographer code, the credit falls back to Todd Bolen, BiblePlaces.com. |
Change photo returns to the picker. Clear all wipes title, description, and credit if you want to write them yourself.
Museum, country, and era stay on the picker card. They are not stamped as their own line on a new slide. If the room needs “Israel Museum, Israel (Iron Age),” put that in the title, or turn Description on and write it there. Say only what the card supports. If the identification is debated, write “a seal of this type,” not a claim the caption cannot bear.
An older sermon can still contain a Museum slide from before these photos lived inside Bible Photo. That older slide can show museum, country, and era across the picture. A new insert is a Bible Photo.
You can add one camera step and tighten the frame when you will name a single detail — a line of letters, a portrait on a coin — then return to the Bible Verse slide. Select the title or the credit on the preview to change size or All caps from the toolbar.
A quiet Sunday workflow
- Decide whether the room needs the object as much as the next verse.
- Add Bible Photo → Museum. Search a word — inscription, coin, seal, pottery — or filter by country, museum, and era.
- Read the card. If the description is a filename, rewrite the Title into the sentence you will say.
- Leave Photo Attribution on. Turn Description on only for the one extra line the room must see.
- Place the slide after the verse where you will say “look at this.” Keep speaker notes under it in the same document.
- On Sunday, advance from the tablet, then come back to the text.
Honest captions
The photograph does not prove the sermon. It shows an object a teacher can point at: the kind of inscription, coin, seal, pot, idol, or ossuary the passage is talking about. One artifact per point. A second object usually means you have started a museum tour.
Pair it with the verse slide. The artifact serves the sentence; it does not replace exposition. Stock images set a mood. Museum, country, and era reach the room only if you write them into the title or the description. The credit line is the part that appears on its own. Leave it on. It is part of telling the truth about the picture.
Do not overclaim what the object proves. “This is the sort of seal the text assumes” is a teaching sentence. “This artifact proves the verse” is a different claim, and the photograph cannot carry it.
When to leave the Museum tab closed
- The verse already on screen carries the point
- You need the land, not an object — Bible photos of places
- You need to orbit a reconstruction — 3D Models
- You only need a word’s meaning — a definition slide
BibleSlides stays a quiet servant: Scripture first, the artifact when the text names something the room should see, then out of the way.
Related guides
See BibleSlides features
Notes and slides in one document, Bible Verse slides, stepped markup, Verse Analysis, 3D maps, BiblePlaces photos, and tablet presenter apps — built for pastors who teach Scripture.