Help Center · Getting Started
Getting started
Sign in, create a blank presentation, add a slide, and present it.
This is the path from the front door to the first time the slide fills the screen. You do not need every tool on the first afternoon. One presentation, one outline, and Present is enough to see how BibleSlides works.
Sign in
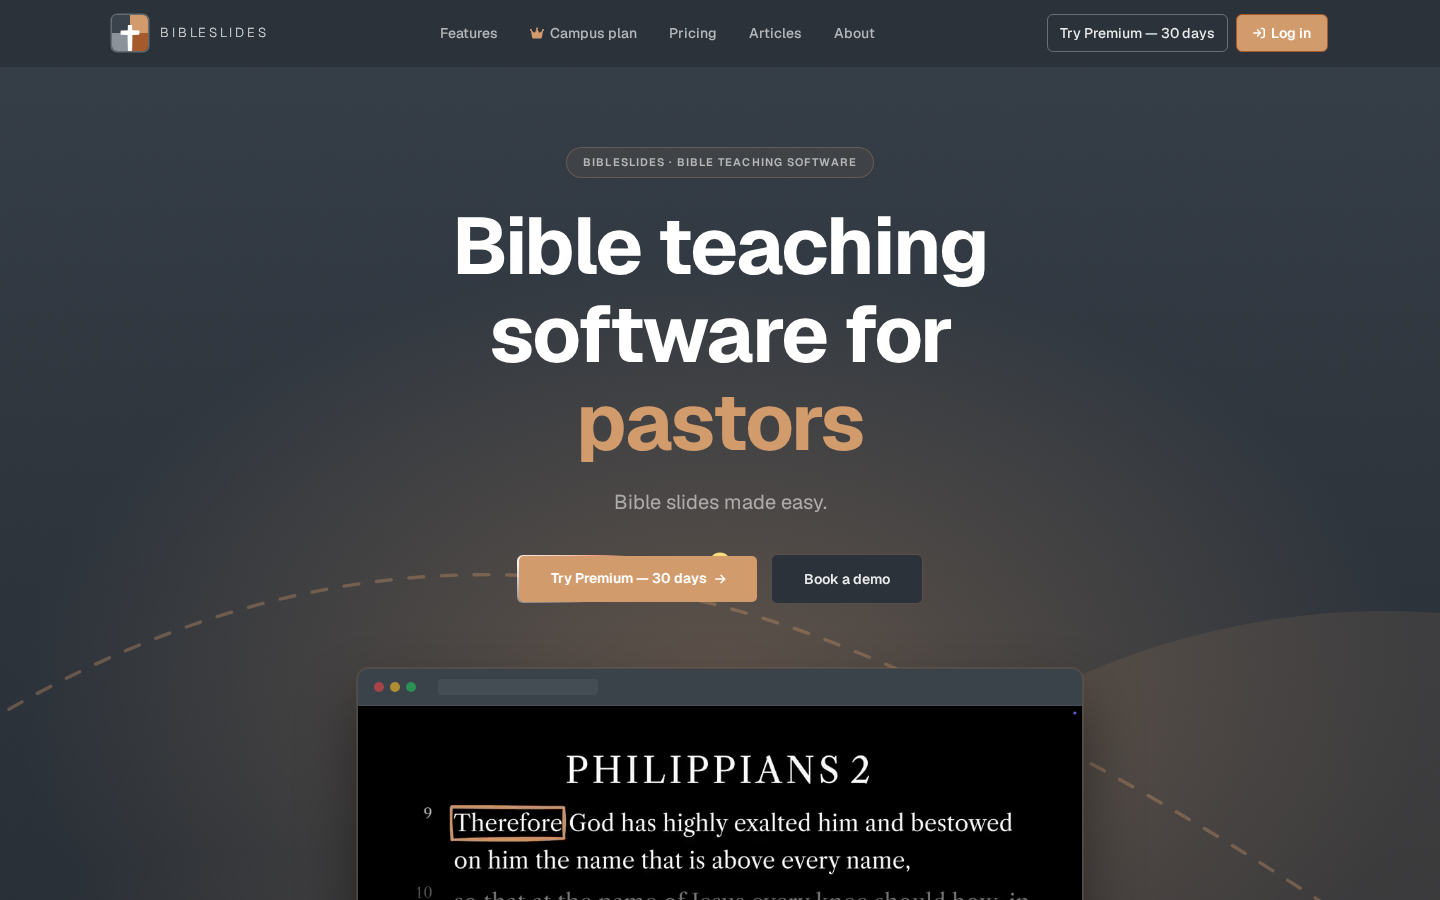
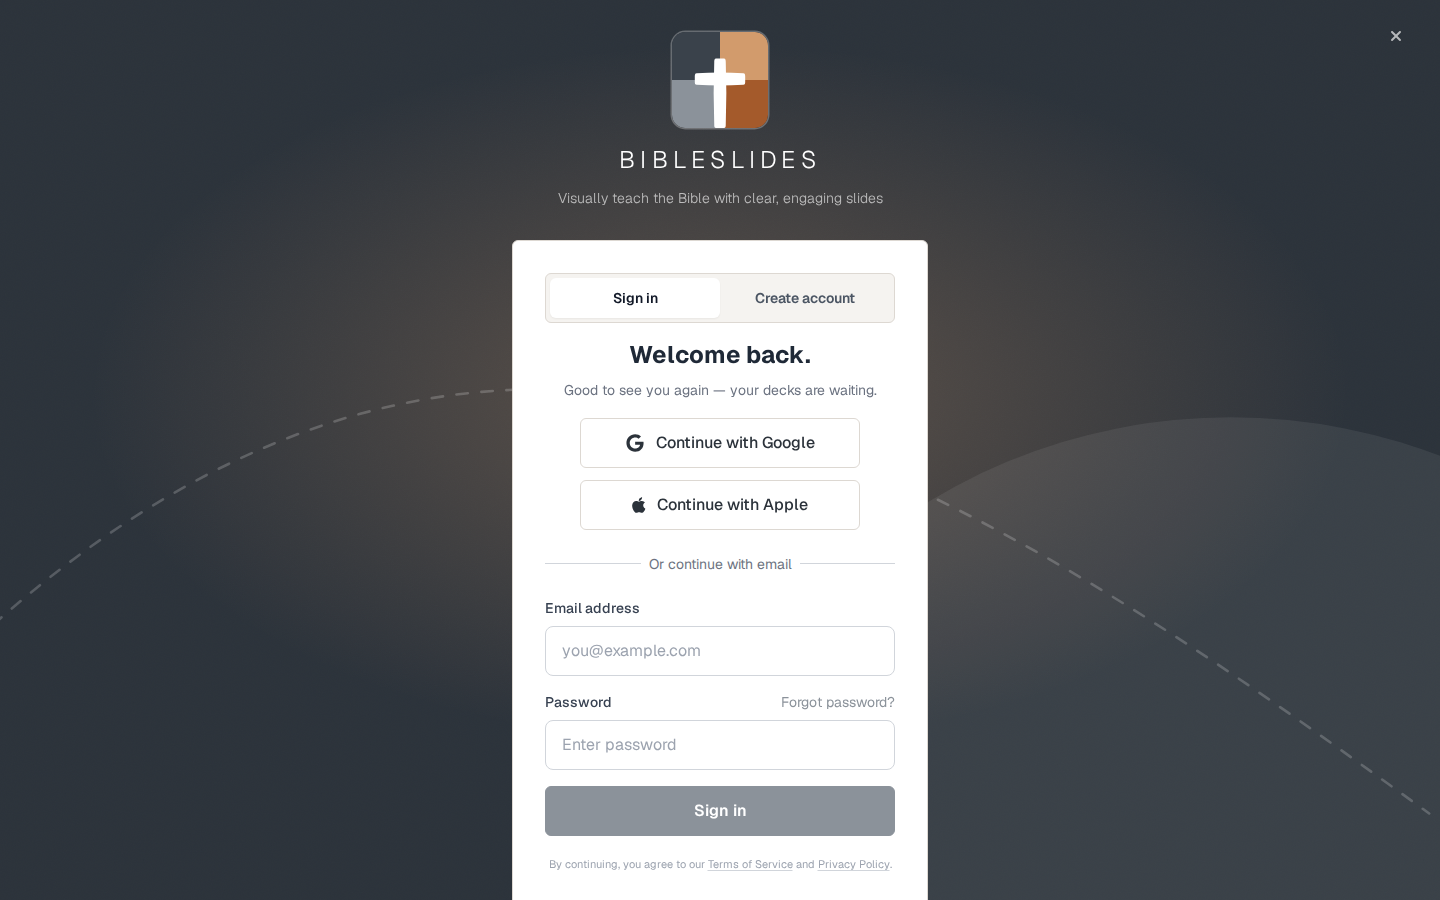
Open BibleSlides and choose Log in, or go straight to the sign-in page. The window says Welcome back. You can Continue with Google, Continue with Apple, or use Or continue with email. Email sign-in asks for an email address and a password. Create account is the other tab if you do not have one yet. New accounts include 30 days of Premium, and no card is required to create the account.
After a successful sign-in you land on your projects.
Your projects
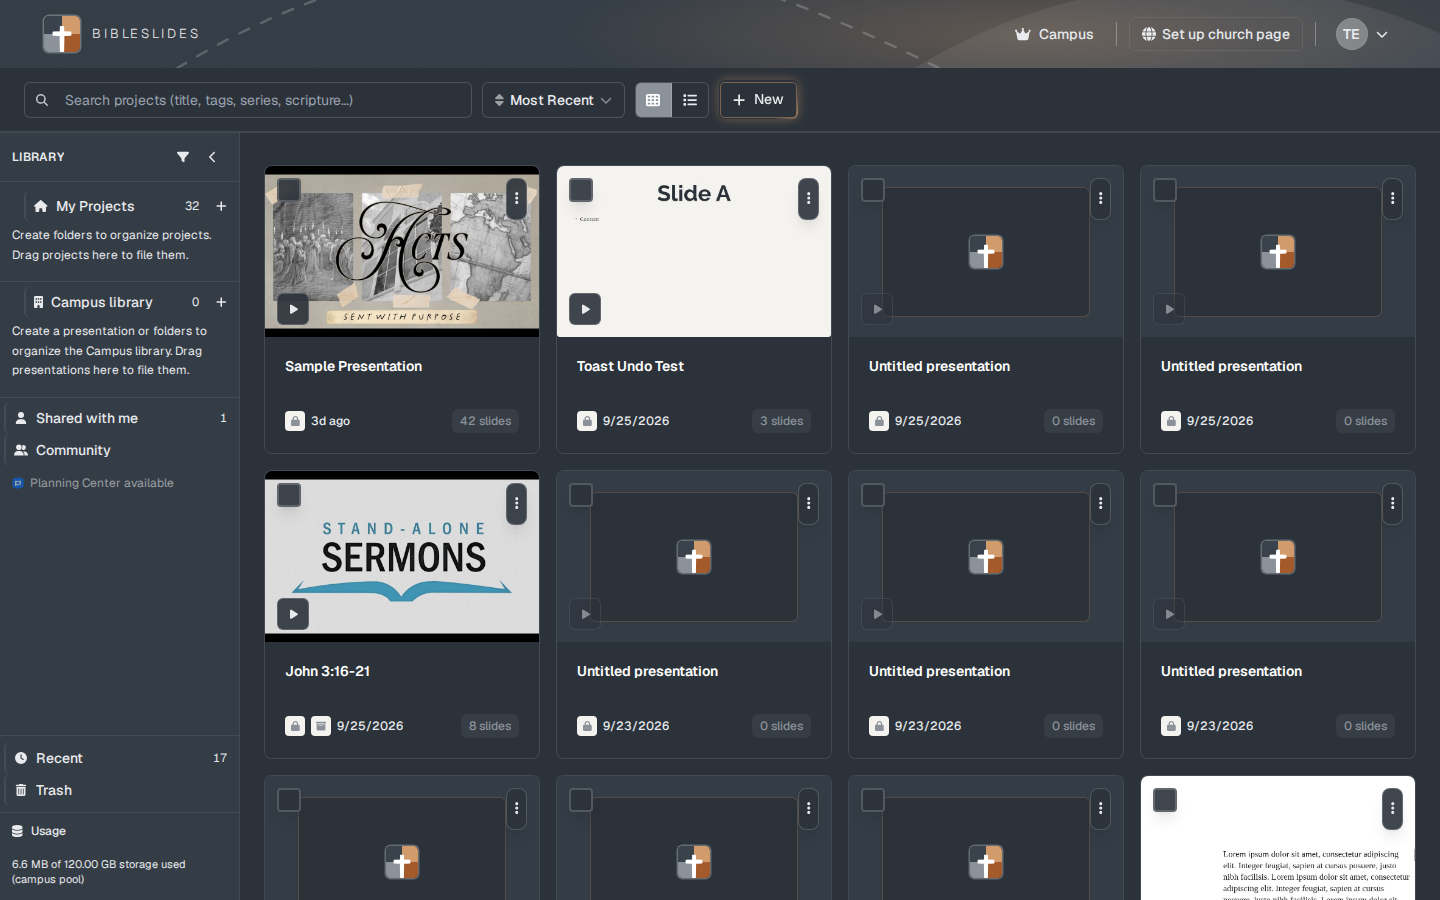
The library is called My Projects. A project is a presentation. The left side also lists Campus library, Shared with me, Community, Recent, and Trash. A search box sits above the cards. New is the button that starts a presentation.
Each card shows a title, when it was last touched, and how many slides it has. A brand-new account may also show a Sample Presentation. That sample is for looking around. Work you want to keep belongs in a presentation you create yourself.
Start a blank presentation
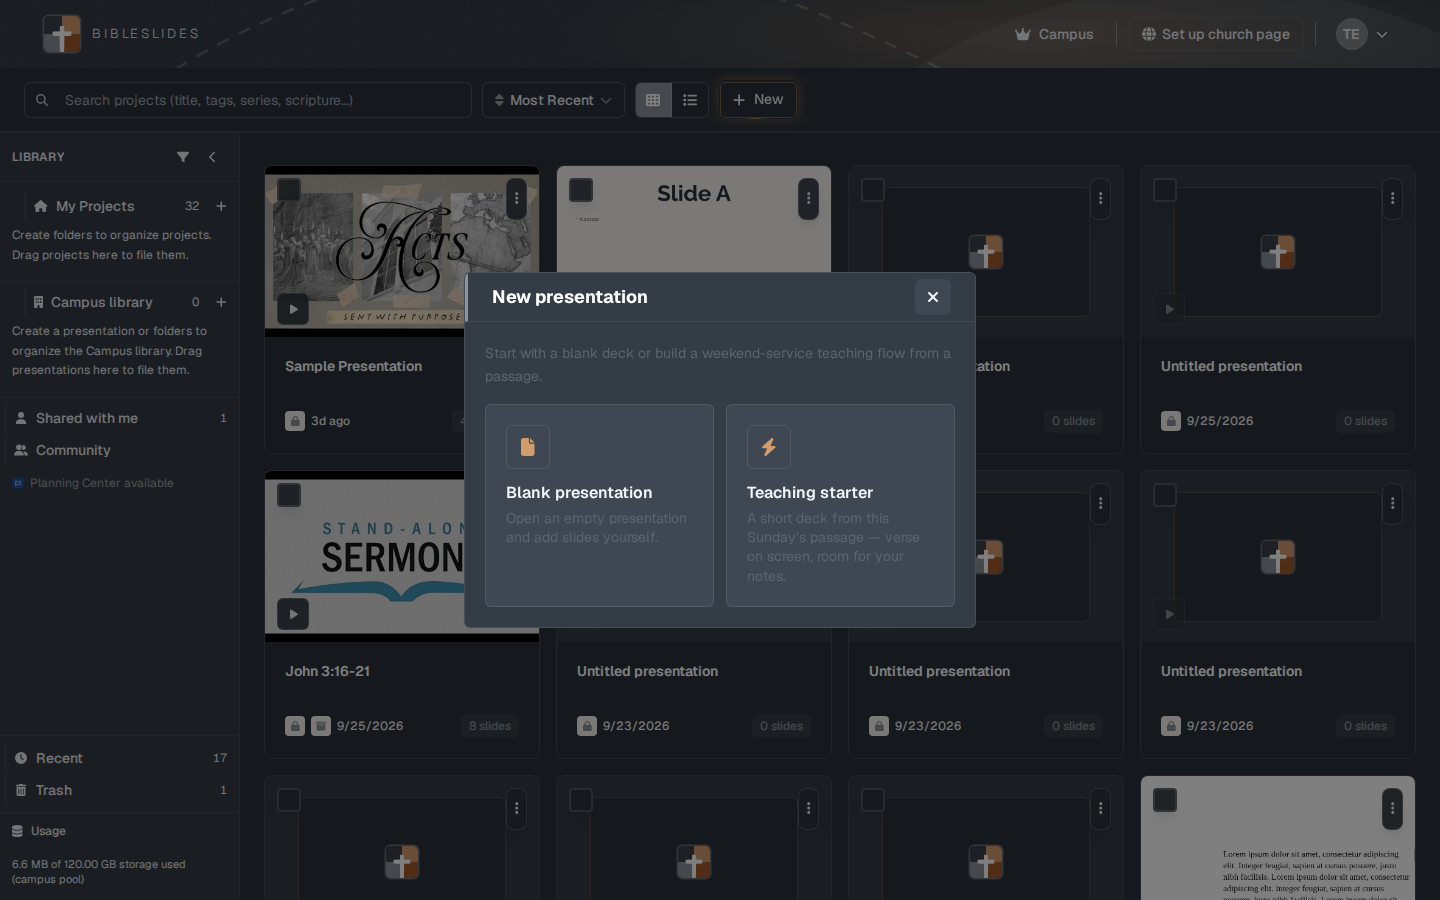
Click New. The window title is New presentation. It asks how you want to start:
- Blank presentation — “Open an empty presentation and add slides yourself.”
- Teaching starter — “Build a weekend-service teaching flow from a passage.”
Choose Blank presentation. The editor opens on an untitled deck.
What the editor is
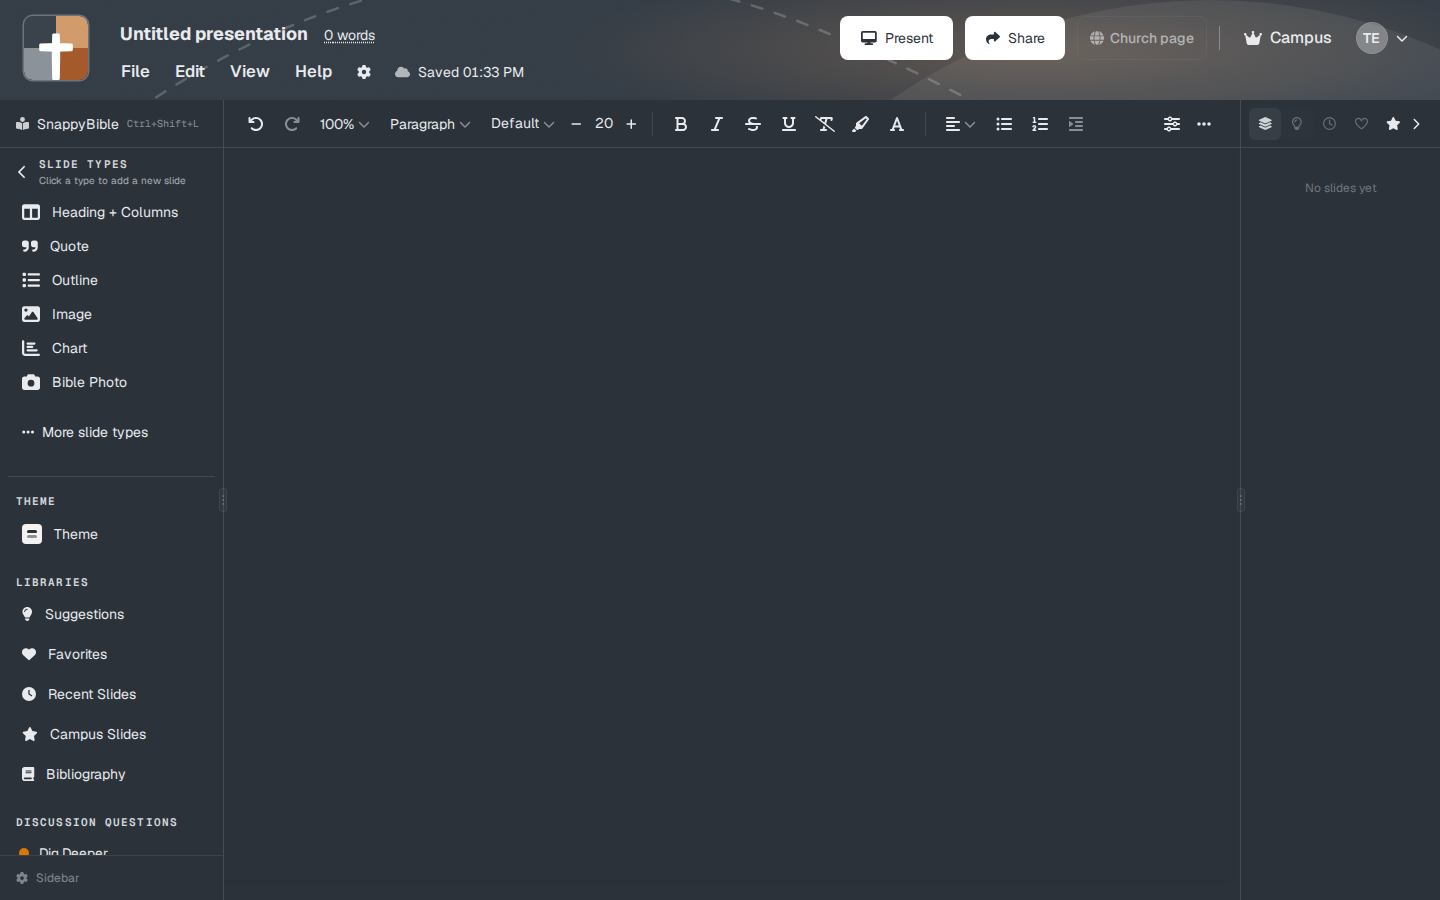
The header shows the title (it starts as Untitled presentation), a word count, and File, Edit, View, and Help. A line such as Saved with a time means the deck has been written to your account. You do not have a separate Save button to hunt for. Present and Share sit on the right. Present is the dark button.
Under that, the page splits in two. The wide area on the left is your notes: a writing surface with styles such as Paragraph and Default. The panel on the right is the slide the room will see. An empty deck says No slides yet.
The far left sidebar is where slides come from. SnappyBible sits at the top (the shortcut shown there is Ctrl+Shift+L). Under Slide types the hint reads Click a type to add a new slide. The names in that list are the types you have pinned. More slide types opens the rest. Further down are Theme, then libraries (Suggestions, Favorites, Recent Slides, Campus Slides, Bibliography), and Discussion questions (Dig Deeper, Discussion, Prayer, and Custom…).
Add the first slide
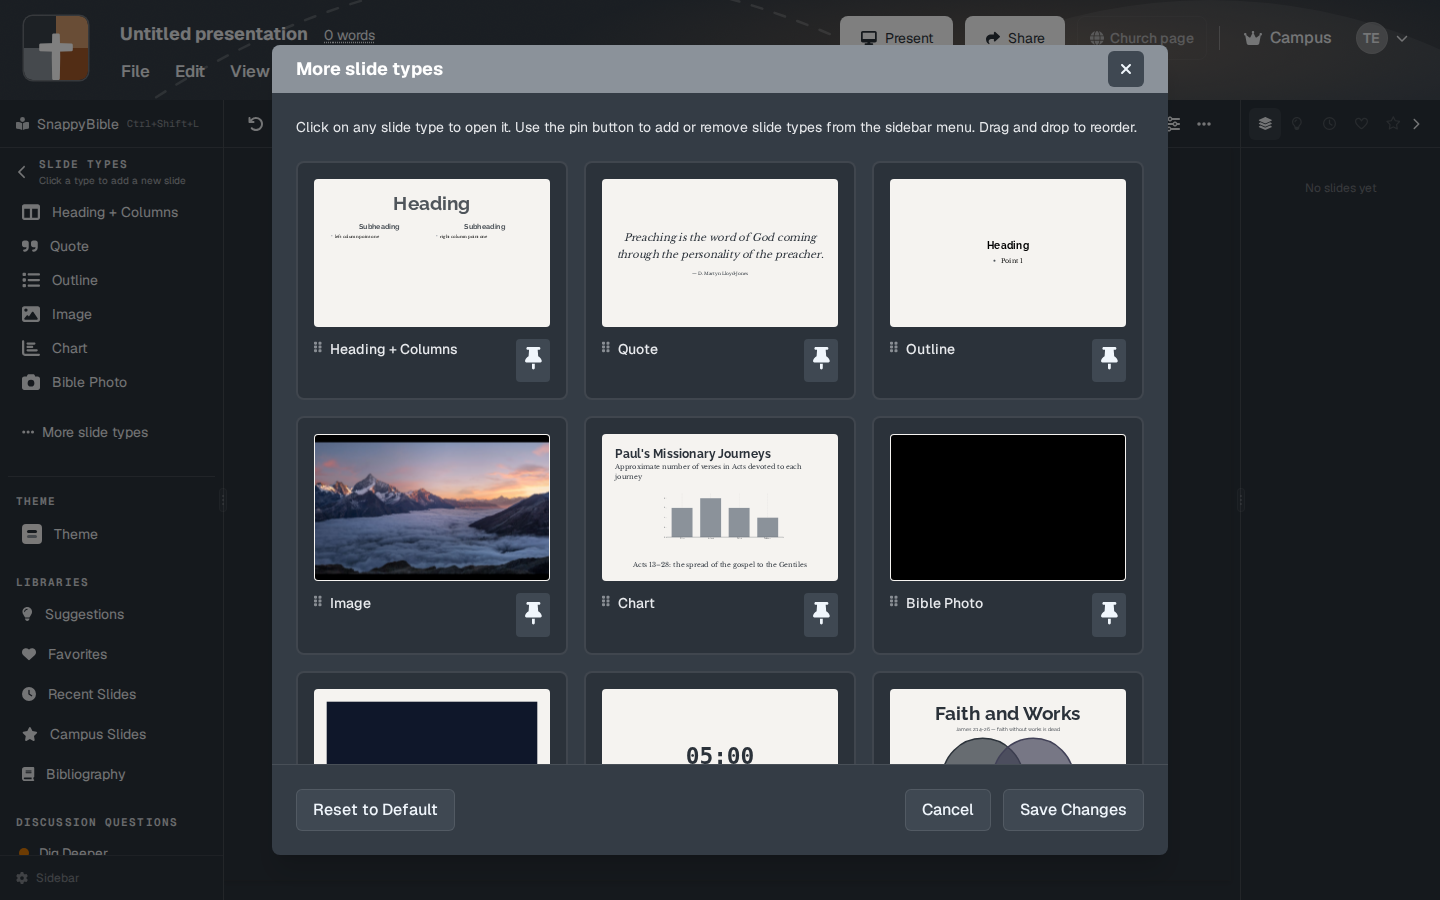
For a first sermon slide, Outline is the simplest. If you do not see it, click More slide types. That window says: “Click on any slide type to open it. Use the pin button to add or remove slide types from the sidebar menu. Drag and drop to reorder.” Click Outline.
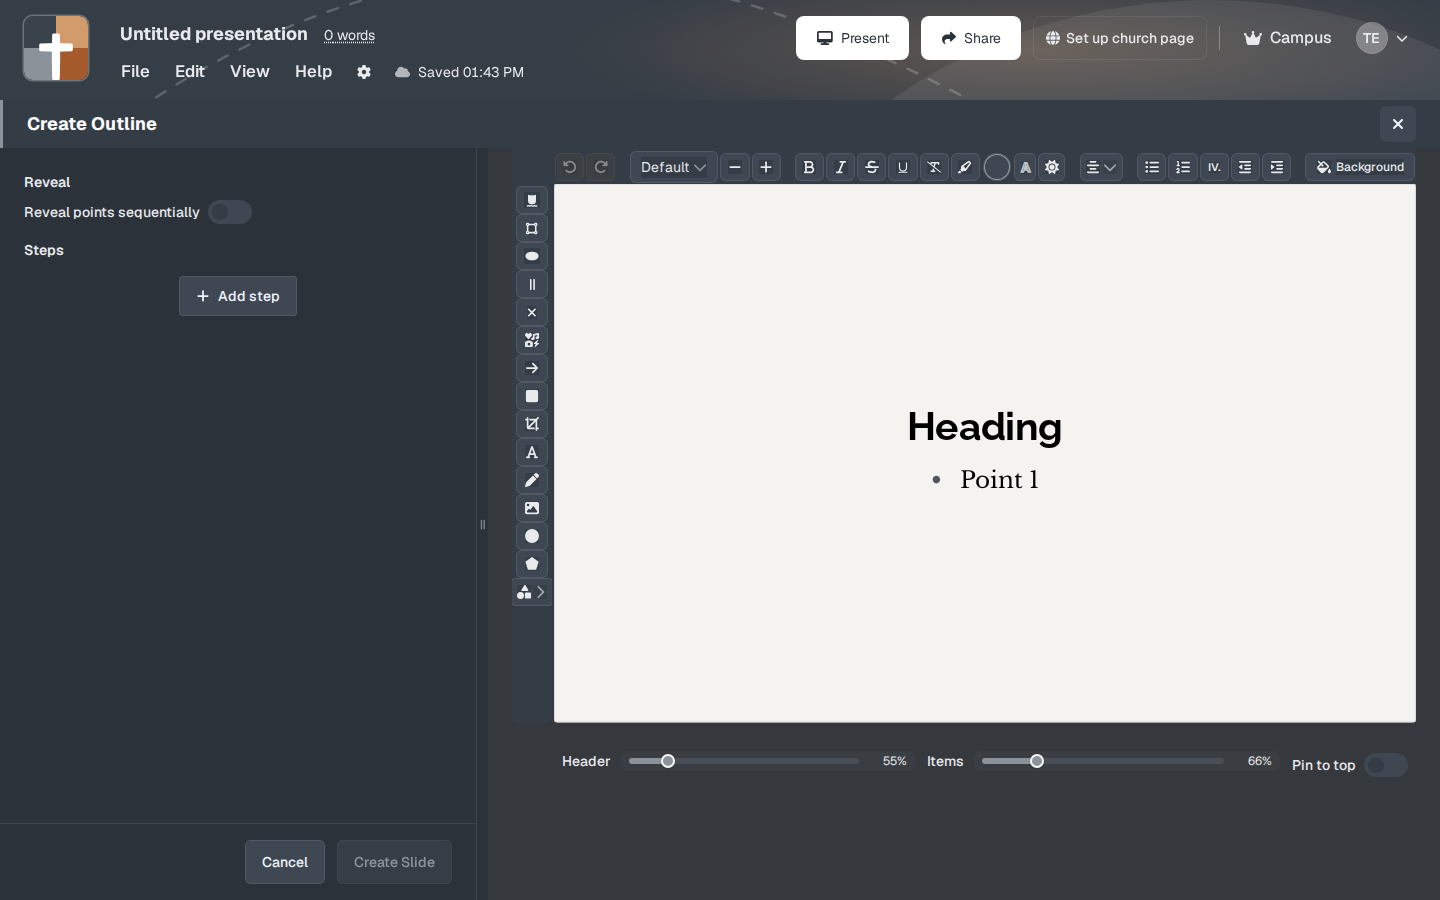
The setup window is titled Create Outline.
- The preview starts with the words Heading and Point 1. Replace them.
- Heading is the title on the slide.
- The points field placeholder is One point per line. Each new line becomes the next point.
- Reveal points sequentially builds steps so you can show one point at a time.
- Steps and Add step are for an extra mark on the slide (a focus, an arrow, a label), separate from the point list.
- Header and Items are size controls. A fresh outline starts near Header 55% and Items 66%.
- Pin to top keeps the heading in place while points advance.
- Background sets the slide background.
- Create Slide adds it. Cancel closes the window and adds nothing.
Try a real outline, not the placeholder. For example, heading Love your neighbor, and three lines: who is my neighbor, the priest and the Levite, the Samaritan stopped. Then Create Slide. The right-hand panel is no longer empty. The header should return to Saved after a moment.
Where every other slide lives
The same gesture adds every other type: click its name in the sidebar, or open More slide types and click the card. New accounts start with these pinned, in this order: Bible Verse, Bible Photo, 3D Bible Maps, Timelines, Verse Analysis, Definition, Image, Powerpoint Draw, Heading + Columns, Quote, Outline, Video, Text Only, and 3D Models. Anything you unpin moves into More slide types and stays available there. The Help Center has one article for each type, including a few older types that are no longer in that window.
Present it
When the deck has at least one slide, click Present. The menu offers Practice mode and Present. Practice is the rehearsal. Present is the screen you send to the projector or the sanctuary computer. An empty deck cannot present. Add the outline first.
Arrow keys move between slides once the slideshow is open. Leave the slideshow to come back to the notes.
Help stays Help
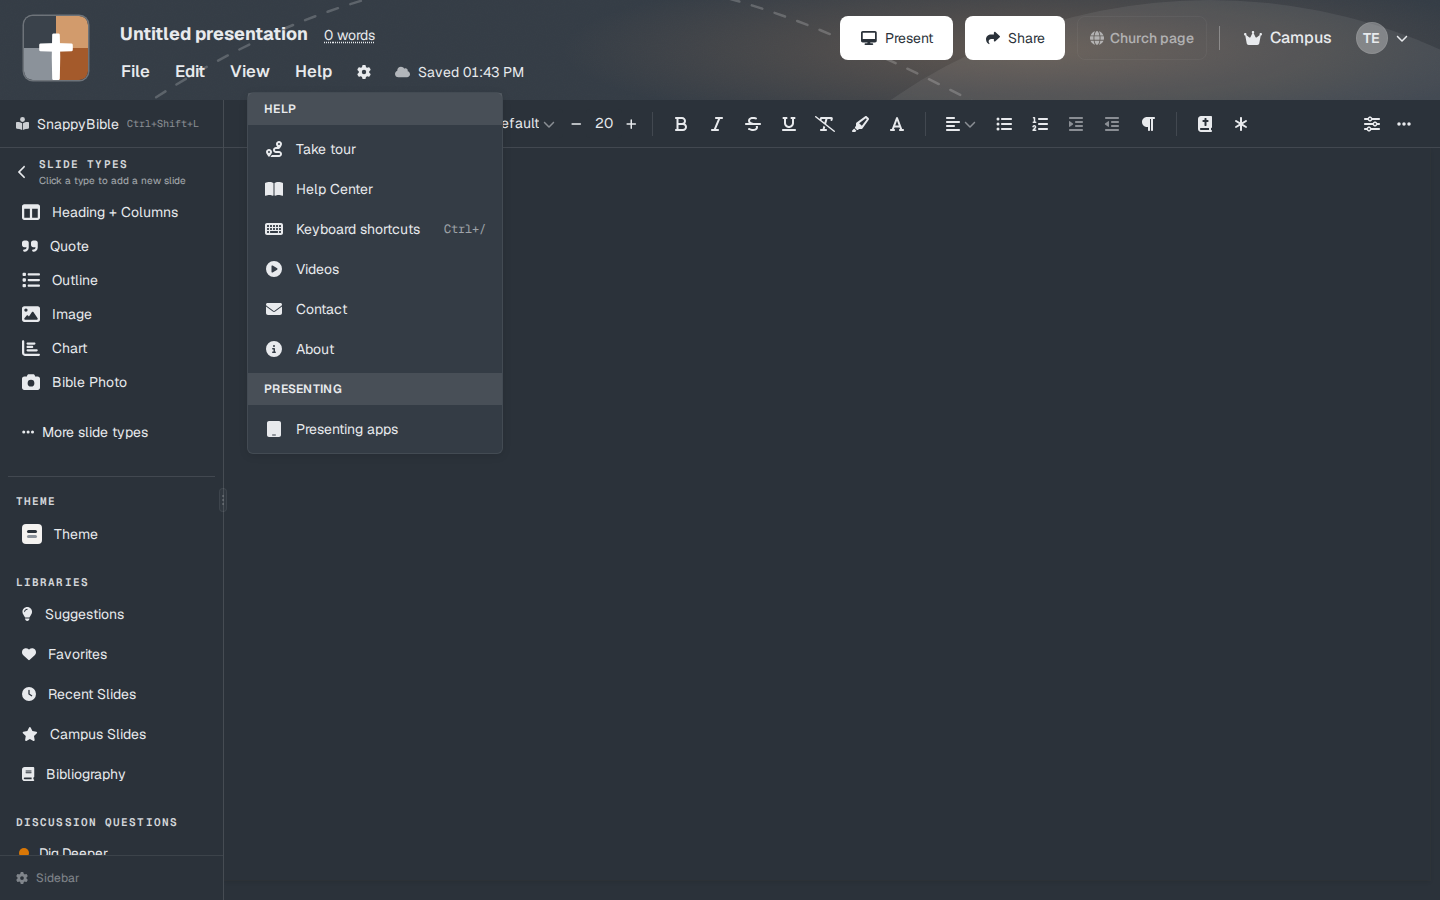
The top menu is still Help. Inside it:
- Take tour
- Help Center — this site
- Keyboard shortcuts
- Videos
- Contact
- About
- Presenting apps — the iPad, Android, Mac, Windows, and Linux apps used on stage. Those apps present. You build the deck here, on a computer.
What Free, Premium, and Campus change
You can learn the editor on any plan. The limits are specific:
- Free, after the trial: 7 slides in a presentation, 3 presentations, a watermark on the slideshow, no image uploads, and no HTML or image export. A crown appears on Bible Photo, 3D Bible Maps, Family Tree, Ancient Units, and 3D Models. Those five cannot be added until you upgrade. SnappyBible and the on-the-fly tools (Bible, Maps, Photos, Timeline, Board) are not available on Free.
- New accounts: 30 days of Premium, including audience follow-along, with no card. When the trial ends, the Free limits apply unless you upgrade.
- Premium (monthly or annual): the slide types above, uploads, and exports. Follow-Along QR is not included after the trial.
- Campus: Follow-Along QR, Planning Center, and the campus library. A campus member uses the church’s plan.
A crown on a slide row means this account cannot add that type yet. The setup window can still open. The button reads Upgrade to Add instead of Create Slide.
When the first outline is on the slide and Present works, you already know the loop: notes, a slide type, Create Slide, Present. The slide-type articles walk through each setup window field by field.