Help Center · Getting Started
The editor
Notes on the left, the slide on the right, and the sidebar.
The editor is where the sermon is written and the slide is built. The header is the title (a new deck starts as Untitled presentation), a word count, and File, Edit, View, and Help. Present is the dark button on the right. Share sits beside it.
Under the menus, the page splits. The wide area is your notes, with the slide the room will see on the right. An empty deck says No slides yet in that right-hand panel. The far left is the sidebar.
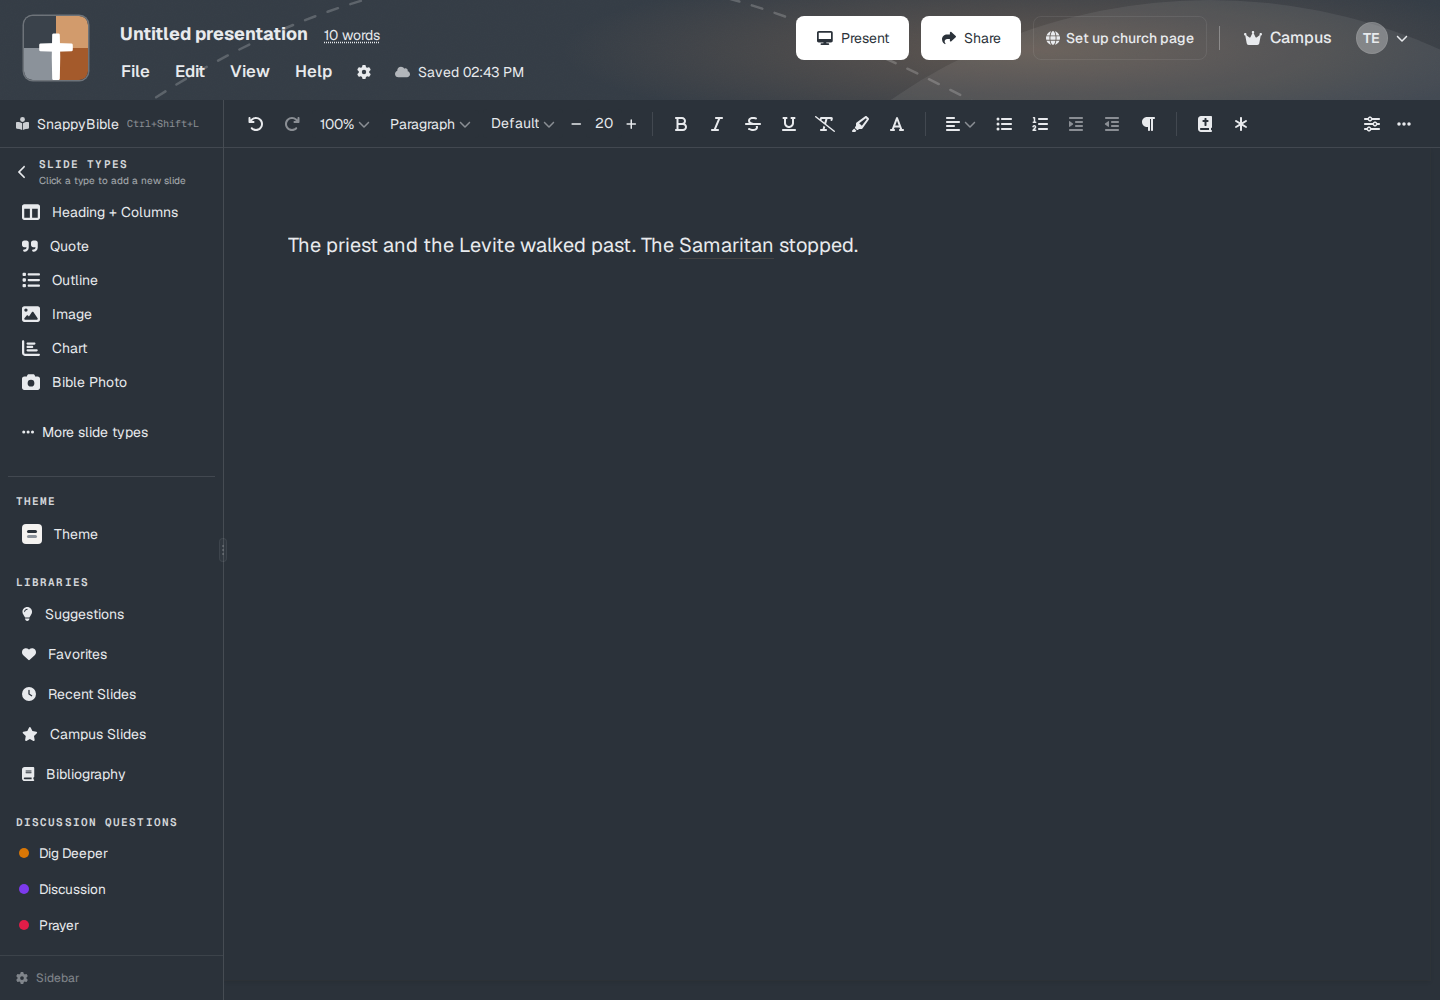
The header
Click the title to rename it. The tooltip is Click to edit title. The word count (for example “10 words”) opens Word count includes, with checkboxes for Written text, Target verse content, and Discussion questions.
Saved with a time means the deck has been written to your account. File → Save is still there (Ctrl+S, or Cmd+S on a Mac). The states are covered in Autosave.
File, Edit, View, Help
File includes New (a submenu with Blank presentation and Teaching starter wizard), Open, Save, Rename…, Presentation details…, Recent, Make a Copy, Make available offline, Print, Export, Import, Version History, Delete, and Close.
Edit is Undo, Redo, Cut, Copy, Paste, Paste without formatting, Select all, Delete, and Find and replace.
View is Fullscreen (or Exit Fullscreen), Show Minimap / Hide Minimap, Distraction Free, Show Slides / Hide Slides, Show Discussion Questions / Hide Discussion Questions, Light Mode / Dark Mode, and App language (English or Español).
Help is unchanged: Take tour, Help Center, Keyboard shortcuts, Videos, Contact, About, and under PRESENTING, Presenting apps.
Settings is not a dropdown. It opens the options window (layout, preferences, slideshow, security).
The sidebar
SnappyBible sits at the top. The shortcut shown beside it is Ctrl+Shift+L. That dock is for looking up a passage while you write. It is not the projector. See On the fly.
Slide types — the hint is “Click a type to add a new slide.” The names in the list are the ones pinned for this account. A new account starts with a longer set, listed in Getting started. More slide types opens the rest. The window says: “Click on any slide type to open it. Use the pin button to add or remove slide types from the sidebar menu. Drag and drop to reorder.”
Theme — one row. Click it for Presentation theme. See Themes and fonts.
Libraries — Suggestions, Favorites, Recent Slides, Campus Slides (on a campus plan), and Bibliography. See Favorites and libraries.
Discussion questions — Dig Deeper, Discussion, Prayer, and Custom…. Custom… asks for a label, then Insert.
Notes and the slide
You type in the notes. The style menu starts on Paragraph. Default is the font row. Slides you add sit in that same column, and the selected one fills the panel on the right. See Notes beside the slide.
Plans
You can learn the editor on any plan. After the trial, Free is 7 slides in a presentation and 3 presentations. A crown on a slide row means this account cannot add that type yet. The setup window can still open. The button reads Upgrade to Add instead of Create Slide.